
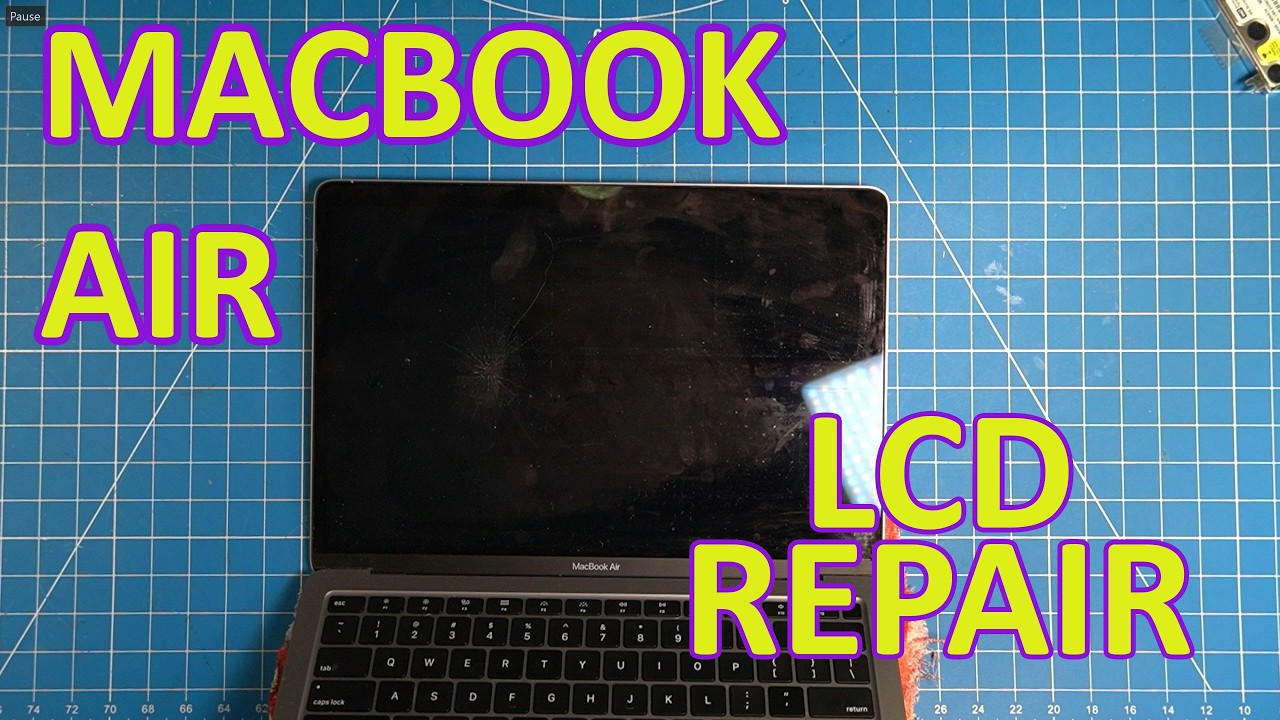
If you’ve ever faced the frustrating experience of a damaged MacBook Air screen, you know how daunting the repair process can seem. In a recent video, a tech enthusiast walks viewers through the intricate steps of replacing the LCD screen on a 2020 MacBook Air model 1279, sharing tips and insights that make the process easier and more accessible for DIYers. Armed with just a few tools and a replacement screen sourced from AliExpress, he dives headfirst into the repair, demonstrating that with patience and the right approach, tackling such tasks can be rewarding.
Assessing the Damage
The adventure begins with a thorough inspection of the damaged screen, revealing a spiderweb of cracks that signal a need for replacement. The speaker emphasizes the importance of sourcing the correct parts, noting that while many kits come with complete assemblies, his journey will focus on replacing just the LCD glass panel itself. This decision sets the stage for a more detailed and challenging repair process, as he aims to delve deeper than typical replacements.
Gathering Tools and Disconnecting the Battery
Before starting, he gathers an array of tools, including a Torx screwdriver set, and emphasizes the necessity of disconnecting the battery to prevent any electrical mishaps. He meticulously removes screws and connectors, ensuring each piece is organized in a magnetic tray to avoid losing any small components. This methodical approach is crucial in maintaining order throughout the disassembly process, which can often become chaotic without proper organization.
Removing the Old Screen
As he progresses, the speaker encounters the delicate task of separating the LCD from the frame. Using a thin plastic tool, he carefully pries up the screen, sharing the importance of caution to avoid damaging the fragile backlight. Despite his best efforts, he faces challenges, including the unavoidable breaking of the plastic trim piece—an unfortunate but common occurrence in such repairs. The speaker advises viewers to be prepared for these potential setbacks and to order replacement parts in advance.
Reassembly and Final Touches
Once the old screen is out, he cleans the area and prepares the new LCD for installation. He applies double-sided adhesive and carefully repositions the rubber seal around the perimeter. The reassembly phase requires precision; alignment is key to ensuring a seamless fit. The speaker also highlights the importance of checking for dust and debris before sealing everything up, as any foreign particles could mar the new screen’s clarity.
Lessons Learned and Final Thoughts
In conclusion, this repair journey not only offers practical guidance for those looking to replace their MacBook Air screens but also shares valuable lessons learned along the way. The speaker reflects on the time-consuming nature of the process and hints that for future repairs, he might opt for a complete screen assembly rather than going through the extensive disassembly. His experience serves as a reminder that while DIY repairs can save money, they also require a careful balance of skill, patience, and the right tools. For anyone considering a similar repair, this video is a treasure trove of insight and encouragement!
Lets swap out an LCD screen on a Macbook Air. This is not fun!
Watch on YouTube: MacBook Air LCD Screen replacement
Subscribe: Click here