
Icom IC-F110 Flashing display Repair

In today’s electronics repair adventure, we dive into the world of the Icom IC-F110, a VHF radio that’s intriguing in both its design and its quirks. The IC-F110, closely related to the F121, offers a lower wattage option and is primarily an international version not commonly found in North America. The radio in question exhibits a flashing display and strange noises, symptoms indicating that the Voltage Controlled Oscillator (VCO) is not locking onto a frequency. This issue prompts an investigation into potential power supply problems, particularly focusing on the various voltage regulators.

The technician starts by disassembling the radio, taking precautions to connect a dummy load to avoid damage during testing. Initial checks reveal a healthy 13.98 volts at the power input, but the 8-volt output from one regulator is alarmingly absent. Further diagnostics show that while the CPU is operational—allowing basic functions like channel changes—the 5-volt lines seem suspiciously low. Understanding the layout and schematics of the radio, the technician identifies the next steps, which entail checking multiple voltage regulators embedded within the device.

With a deep dive into the circuit board, the technician meticulously traces the circuitry, discovering potential culprits in the regulators Q27 and Q28, which seem to be linked to the 5-volt supply. After a thorough cleaning of the internal components, aimed at removing years of grime and possible liquid damage, the technician comes up empty-handed in resolving the flashing display, necessitating further exploration into the faceplate connections.

The process highlights the importance of spare parts, as the technician tests a known working faceplate to eliminate the possibility of a faulty ribbon cable. Ultimately, it becomes clear that the issue lies deeper within the circuitry. After extensive circuit tracing, the technician identifies a break in continuity related to corrosion potentially caused by liquid intrusion. A careful bodge repair is executed to bridge the gap, providing hope for a resolution to the flashing display issue.

As the radio is reassembled, the technician conducts final tests. To their delight, the radio successfully transmits and receives signals, proving that the earlier repairs were effective. The radio is cleaned thoroughly, new thermal grease is applied, and protective conformal coating is added to secure the repairs. The technician wraps up the project, satisfied that they have restored a valuable piece of equipment that serves off-road enthusiasts and truckers alike, ensuring it will function flawlessly for years to come.

This repair journey not only showcases the technical skills involved in troubleshooting and fixing electronic devices but also emphasizes the importance of patience and attention to detail in the world of electronics repair. The technician’s commitment to restoring functionality to the Icom IC-F110 is a testament to the rewarding nature of hands-on technical work.

This Icom IC-F110 has a flashing display. Let's find out why.

Watch on YouTube: Icom IC-F110 Flashing display Repair

Subscribe: Click here
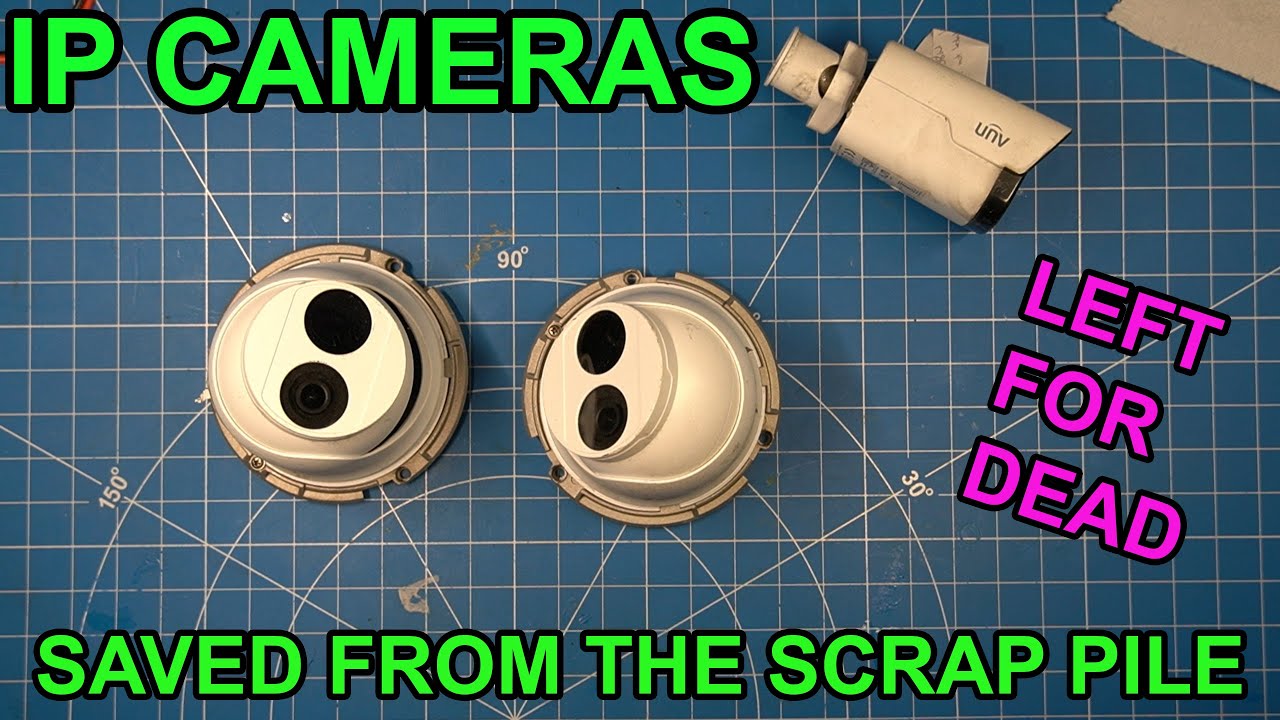
Saving Enterprise IP Cameras from E-Waste

In an age where electronic waste is a growing concern, one YouTuber takes it upon himself to salvage and restore a pair of PoE (Power over Ethernet) IP cameras that had been discarded due to snipped cords. The video showcases a hands-on approach to repurposing technology that would otherwise contribute to e-waste, highlighting the importance of recycling and sustainability in our tech-driven world.

Disassembling the Cameras

The adventure begins with the careful disassembly of a dome camera, revealing its internal components. With a few deft movements, the speaker extracts the ribbon cable and other essential parts, showcasing the intricate design of the camera. The focus is on minimizing damage and maximizing the chances of a successful repair. As he navigates through the camera’s internal structure, he discovers a microcontroller and a battery, indicating that this camera is far from obsolete.

Powering Up the Camera

One of the notable features of the camera is its ability to operate on both PoE and 12 volts, making it versatile for various applications. The speaker notes the standard wiring colors for Ethernet cables and contemplates the best method to connect a new cable without resorting to splicing or soldering. After some experimentation, he decides to replace the snipped cord with a new RJ45 connector, ultimately realizing that the stranded wires in the camera made this process more challenging than anticipated.

Overcoming Technical Challenges

Despite initial setbacks with the first camera, including difficulties in making proper electrical contact, the speaker shifts his focus to a second camera. This time, he opts for soldering connections internally—something he initially wanted to avoid. With patience and precision, he strips the wires and makes the necessary connections to bring this camera back to life. His efforts pay off when he successfully accesses the camera’s interface, demonstrating that what was once discarded can be revived.

Exploring Camera Specifications

With the cameras operational, the speaker takes a moment to delve into the technical specifications. Both cameras boast a 4-megapixel resolution, with one featuring a wide dynamic range, making them excellent for different surveillance needs. The speaker appreciates the high-definition quality, noting that even a resolution slightly below 4K is more than sufficient for his purposes. This realization underscores the value of investing time in repairs rather than contributing to e-waste.

As the video concludes, the speaker expresses enthusiasm for the successful restoration of the cameras, inviting viewers to consider the potential for salvaging their own discarded tech. By sharing this engaging DIY journey, he not only demonstrates technical skills but also promotes a culture of sustainability and resourcefulness in technology. Whether you’re a tech enthusiast or someone looking to reduce waste, this video serves as an inspiring reminder of the possibilities that lie within our old electronics.

Let's save these cameras from being E-waste. Somebody removed them and snipped off the cords.

Watch on YouTube: Saving Enterprise IP Cameras from E-Waste

Subscribe: Click here

Can This Dumpster-Bound ThinkPad 385ED Be Saved?

Welcome back to the world of retro computing! In today’s dive into nostalgia, we take a closer look at the IBM ThinkPad 385ED, a vintage laptop that dates back to the Windows 95 era. This particular model, powered by a Pentium processor, is not only a collector’s item but also a testament to the durability and reliability that IBM laptops were known for. However, as our host discovers, this ThinkPad has encountered some issues that have led it to the brink of being discarded. Can it be saved? Let’s find out!

Initial Challenges and Diagnosis

Upon powering on the ThinkPad, it becomes evident that the backlight is functioning, but the display presents a chaotic array of colorful lines. Thankfully, the laptop is operational enough to boot into Windows 95, thanks to a recently replaced coin cell battery that is crucial for BIOS functionality. The next step for our intrepid technician is to open the device and investigate the screen issues—speculating whether the problem lies with a loose ribbon cable or a potentially faulty display.

Opening Up the ThinkPad

As the ThinkPad is disassembled, the host takes great care to avoid damaging any of the delicate ribbon cables that connect the various components. To everyone’s surprise, the interior of the laptop is exceptionally clean, suggesting it hasn’t been heavily used. With a few careful maneuvers, the technician accesses the LCD connections, revealing a significant discovery: one of the cables was slightly unplugged. This simple oversight was likely the result of a drop, which caused the disconnection, but fortunately, no other damage was found.

Upgrading to Solid State

With the screen issue resolved, the focus shifts to the hard drive. The original hard drive, a modest 2GB, is extracted for cloning and replacement with a more modern solid-state drive (SSD) using an IDE to SD card adapter. This upgrade promises enhanced speed and reliability, which are essential for the smooth operation of older hardware. However, the initial attempt to use the SD card adapter fails, leading to the realization that a Compact Flash to IDE adapter would be a more compatible solution.

Finishing Touches and Future Plans

After some trial and error, including 3D printing a new bracket for the Compact Flash adapter, the host successfully boots the laptop with the new setup. The ThinkPad springs to life, showcasing its retro charm and functionality. The journey doesn’t end here; future plans may include converting the backlight to LED and refurbishing the battery for a complete restoration. This project not only revives a piece of computing history but also demonstrates the potential to breathe new life into vintage technology.

Overall, this adventure with the IBM ThinkPad 385ED is a reminder of the joy and satisfaction that comes from restoring retro technology. Whether you’re a seasoned tech enthusiast or a curious newcomer, the world of vintage computing offers endless opportunities for exploration and creativity. Stay tuned for further updates on this project, as there’s always more to discover in the realm of retro PCs!

Lets Save an IBM Thinkpad 385ED from the dump. This one wont show anything on the display except for some multi colored lines.

Watch on YouTube: Can This Dumpster-Bound ThinkPad 385ED Be Saved?

Subscribe: Click here