Creality Filament Dry Box 2.0 Repair for no heat

Welcome back to the workshop! Today, we’re diving into a troubleshooting adventure with a Creality filament dryer that isn’t heating up as it should. The primary function of this device is to gently warm and dehumidify various 3D printing filaments, such as PLA and PETG, preventing them from degrading. However, the owner reported that this specific unit, purchased at a discount as an Amazon return, was completely non-functional. Let’s unpack the problem and explore the repair process!

Initial Observations

Once the dryer was taken out of the box, the first thing noticed was the absence of a switch on the lid, which could potentially disable the unit when opened. The speaker decided to power it up to investigate further. After turning it on, it was quickly apparent that the air blowing out was cold, confirming that the dryer was not heating at all. After about eleven minutes of waiting, the situation remained unchanged, prompting the speaker to take a closer look inside.

Disassembling the Dryer

Gaining access to the internal components involved carefully removing insulation and other parts. As the speaker opened the unit, they discovered signs of previous tampering, including dog hair and an easily removed sticker. This raised concerns about the device’s prior history and condition. The heating element was identified, and the speaker prepared to check it alongside the associated circuit board, which contained a solid-state relay likely responsible for the heating function.

Diagnosing the Issue

Using a multimeter, the speaker began testing the solid-state relay, suspecting it to be the source of the malfunction. Measurements indicated a resistance of several kilohms, which was excessively high for a functioning relay. This prompted a closer inspection and further tests, confirming that the relay was indeed defective. The speaker then sourced a replacement part and prepared for reassembly.

Successful Repair and Testing

With the new solid-state relay in hand, the speaker replaced the faulty component, carefully reassembling the dryer. After reconnecting all the wiring and components, including the fan and display, it was time for a final test. The moment of truth arrived when the unit was powered on, and to everyone’s relief, the temperature began to rise, indicating that the repair was a success!

In conclusion, this repair journey showcased the importance of thorough troubleshooting and diagnosis in electronic devices. The faulty solid-state relay was the root cause of the heating issue, and with a little patience and technical know-how, the dryer was restored to proper working order. As the speaker plans to test the dryer overnight with filament inside, viewers are encouraged to leave comments and share their thoughts. This engaging repair story reminds us that even when things go wrong, a little investigation and determination can lead to a successful outcome!

Creality Filament Dry Box 2.0 Repair for no heat. Let's figure out why this thing doesn't work.

Watch on YouTube: Creality Filament Dry Box 2.0 Repair for no heat

Subscribe: Click here
Turn a 32-Channel Radio into a 160-Channel Radio – Kenwood TK-730

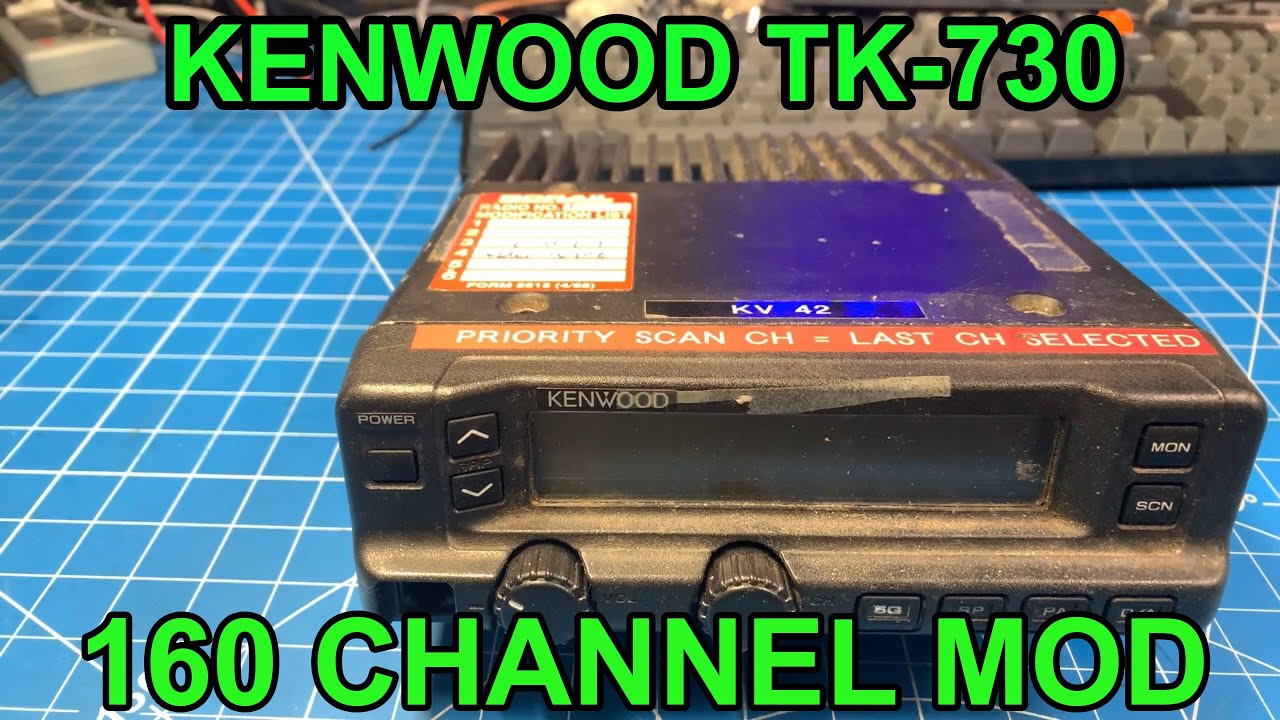
In the latest video, the technician dives into an exciting project: upgrading the Kenwood TK-730 radio from 32 channels to an impressive 160 channels. This ambitious task involves replacing specific chips on the radio’s main board and control head, which are critical for enabling the additional channels. The speaker introduces the necessary components, particularly highlighting the K-5 chip and its equivalent replacement, the 24LC16B. With a clear plan in place, the technician prepares to disassemble the radio for the upgrade.

Disassembling the Radio

The disassembly process begins smoothly as the technician removes the screws and accesses the chips that need to be replaced. With precision, the speaker extracts the original chips and prepares to install the new ones. Notably, the replacement chips are matched closely to the originals, ensuring compatibility. The removal of resistors and careful handling of the components are key steps in the process, showcasing the meticulous nature required for such upgrades.

Programming the Radio

After replacing the chips, the technician powers up the radio to initiate the programming phase. This involves connecting the radio to a computer and using specific software to read and write the new channel configurations. The speaker encounters a few challenges, including a model type mismatch, but demonstrates troubleshooting techniques to overcome these hurdles. The radio is set to programming mode, and the technician starts inputting various channel frequencies, confirming the successful recognition of the new configuration.

Adding Channels and Testing

With the programming underway, the technician begins to populate the radio with an array of channels, showcasing the flexibility and capability of the upgraded device. The video emphasizes the importance of having not just a larger number of channels but also the practical use of these channels for off-road enthusiasts and other users. The technician successfully programs multiple groups of channels, demonstrating the radio’s newfound capabilities and ensuring it holds the information correctly.

Conclusion and Community Engagement

The upgrade proves successful, with the technician able to program over 100 channels into the radio, breathing new life into this piece of equipment. The speaker expresses enthusiasm for the project and invites viewers to engage by sharing their thoughts in the comments. This upgrade not only saves the radio from being discarded but also enhances its usability for various applications, reaffirming the value of DIY projects in the tech community. Viewers are encouraged to consider similar upgrades, fostering a sense of innovation and resourcefulness among radio enthusiasts.

Here's a cheaper way to upgrade your 32 channel Kenwood TK-730 to 160 Channels!

Watch on YouTube: Turn a 32-Channel Radio into a 160-Channel Radio – Kenwood TK-730

Subscribe: Click here

Playing with a Kenwood TK-730

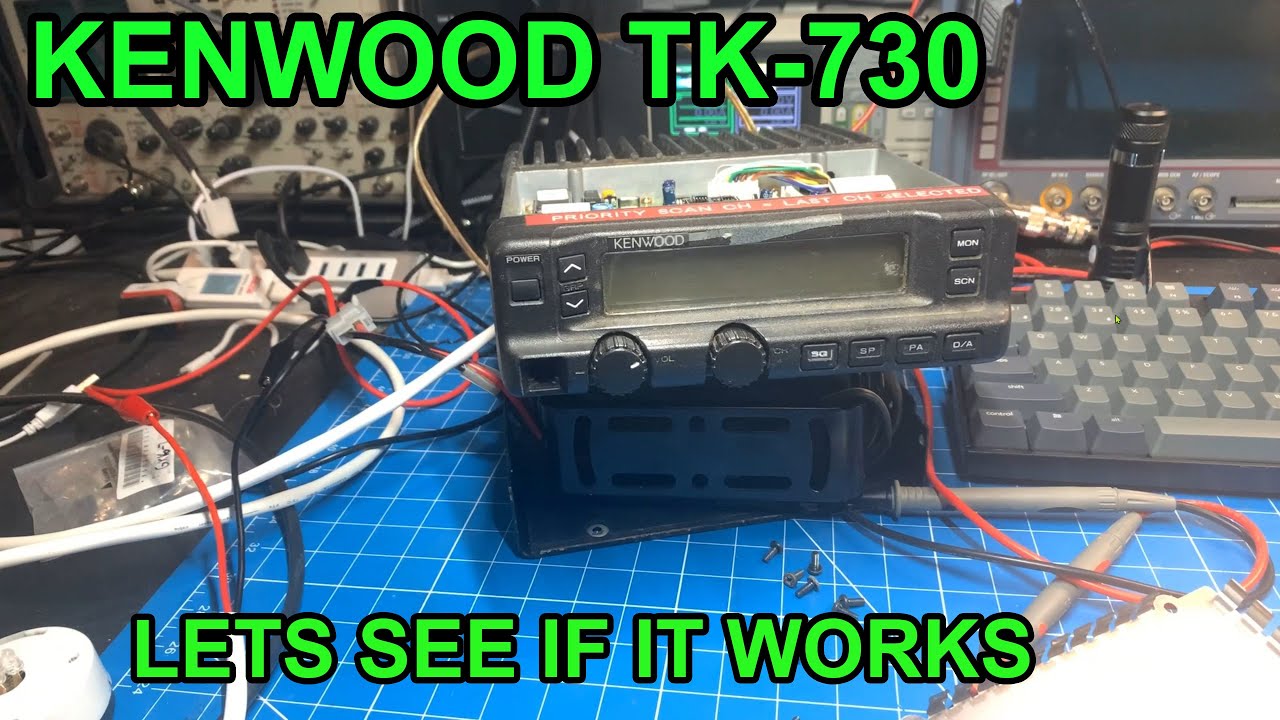
In today’s blog, we dive into the fascinating world of vintage radios through a hands-on exploration of the Kenwood TK-730, a VHF land mobile radio that previously served the needs of BC Rail. The video starts with the presenter expressing uncertainty about the radio’s functionality, as it may have been sitting idle for quite some time. The first step in the journey is to replace the non-standard power connector with a standard Kenwood connector, allowing for proper testing of the device without needing to purchase any additional parts.

Diagnosing Power Issues

As the presenter opens the Kenwood TK-730, they quickly realize the challenge of powering it on. Many older Kenwood radios require an external speaker, which connects through a specific port, often necessitating a jumper for ignition input. After consulting the manual, the presenter identifies that pin number three is designated for a 12V DC ignition input. A quick modification with a jumper wire leads to the satisfying sound of relays clicking, indicating that the radio is receiving power. However, a flashing display presents another layer of complexity that hints at potential programming issues.

Programming Challenges and Solutions

With the radio powered up, the presenter connects it to a universal programmer and a Toughbook using DOSBox to read and modify its settings. The flashing screen could stem from a corrupt EEPROM or incorrect programming related to the radio’s multi-head functionality. Thankfully, the presenter is able to access the programming and confirm that the radio is set up for single-band operation. After some trial and error, including programming a test frequency, the flashing issue is resolved, and the presenter hears audio feedback through the connected speaker, marking a significant milestone in the repair process.

Revamping the Radio’s Design

With the radio operational, the next phase involves enhancing its functionality. The presenter discusses the limitations of the TK-730, which only supports 32 channels, and expresses a desire to expand this capability. To do so, they outline plans for 3D printing a new rear plate that accommodates a standard power connector and a 3.5mm mono headphone jack for external speakers. This modification aims to streamline the radio’s usability while maintaining its vintage aesthetic.

Future Prospects and Community Engagement

The video concludes with the presenter expressing enthusiasm for future modifications, particularly the prospect of adding more channels by swapping the EEPROM chip. They invite viewers to engage with the content by liking, commenting, and subscribing for updates on this ongoing project. This interactive approach not only builds a community around vintage radio restoration but also encourages knowledge sharing among enthusiasts. As the journey with the Kenwood TK-730 continues, it’s clear that the presenter is passionate about breathing new life into this classic piece of technology.

Just seeing if this radio works and what we can do with it in the future.

Watch on YouTube: Playing with a Kenwood TK-730

Subscribe: Click here

This Sony Record Player Was Headed for the Trash

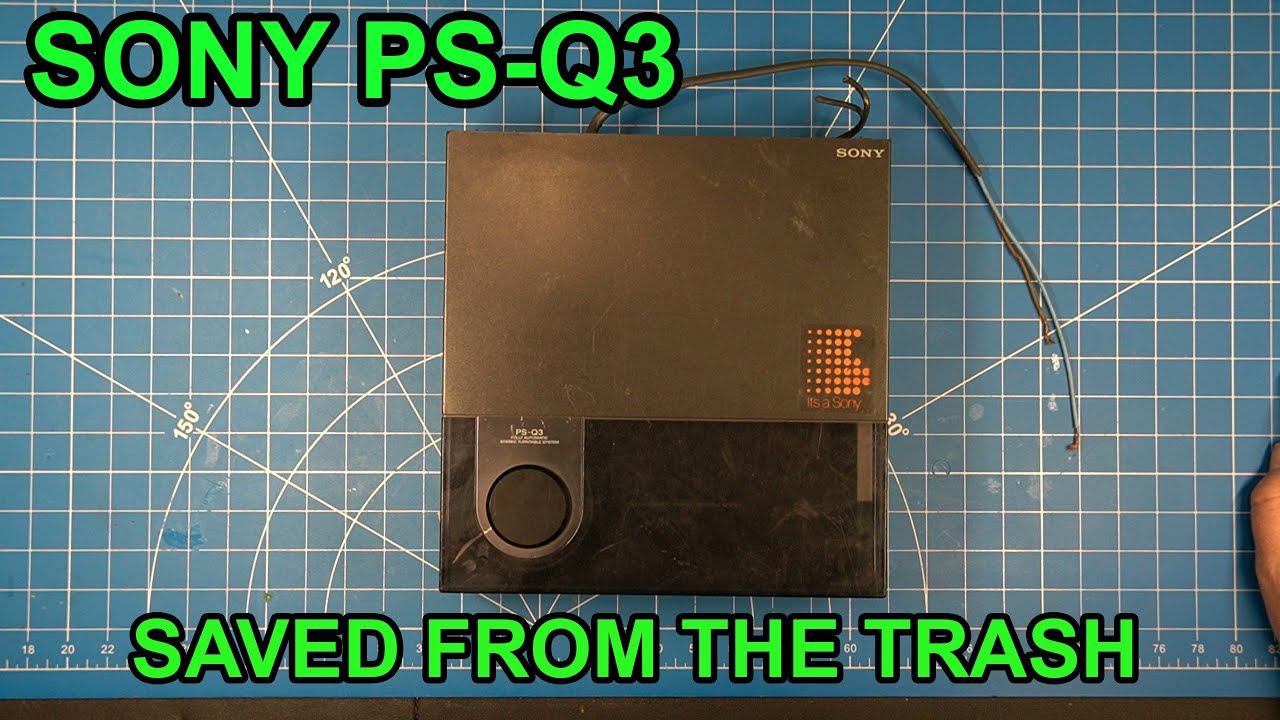
In this exciting episode, we dive into the restoration of a Sony PS Q3 record player that was on the verge of being discarded. This compact and stylish device, originally designed for Sony’s popular FH series Hi-Fi systems from the 1980s, is a sought-after gem among vintage audio enthusiasts. Despite its charm, this particular unit came with some challenges, including a missing chunk from its cover and snipped cords. Nevertheless, the restoration journey promises to breathe new life into this forgotten piece of technology.

Disassembly and Inspection

The first step in the restoration process involved removing the lid to access the internal components of the record player. The speaker noted an unusual angle in the setup, indicating that something was amiss. Upon further inspection, he discovered disintegrated belts and a very dirty interior filled with dust and grime. The speaker emphasized the importance of a thorough cleaning, especially considering the age of the unit—over 40 years old!

Recapping and Repairs

As the restoration continued, the technician decided to recap the circuit board, replacing electrolytic capacitors that, although still functional, were aging. Given the rarity of the Sony PS Q3, it was essential to ensure its longevity. The speaker skillfully desoldered the necessary components and cleaned the entire mechanism, removing the dust that had accumulated over the years. This meticulous attention to detail was crucial for restoring the record player to its former glory.

Replacing Parts and Final Touches

New belts were sourced, and the speaker mentioned the challenge of finding the correct size, highlighting the dedication required for such a project. A new needle was also installed, adding a fresh element to the sound quality. Although the cover still sat a bit crooked due to the prior damage, the speaker was pleased with the overall condition of the restored record player. The final assembly involved making sure everything was securely in place, including the power cord and RCA connections.

Success and Reflection

With the restoration complete, the moment of truth arrived. The speaker powered on the Sony PS Q3 and placed a record onto the platter. To his delight, the unit functioned beautifully, proving that this vintage record player was indeed salvageable. Although it wasn’t in perfect condition, this restoration saved the Sony PS Q3 from an unfortunate fate in the trash. The speaker reflected on the joy of reviving such a classic piece of audio equipment, reminding us all of the importance of preserving history and the thrill of DIY projects.

Saving this Sony PS-Q3 record player from the trash. This is a record player for the famous Sony FH series HIFI stereos.

Watch on YouTube: This Sony Record Player Was Headed for the Trash

Subscribe: Click here