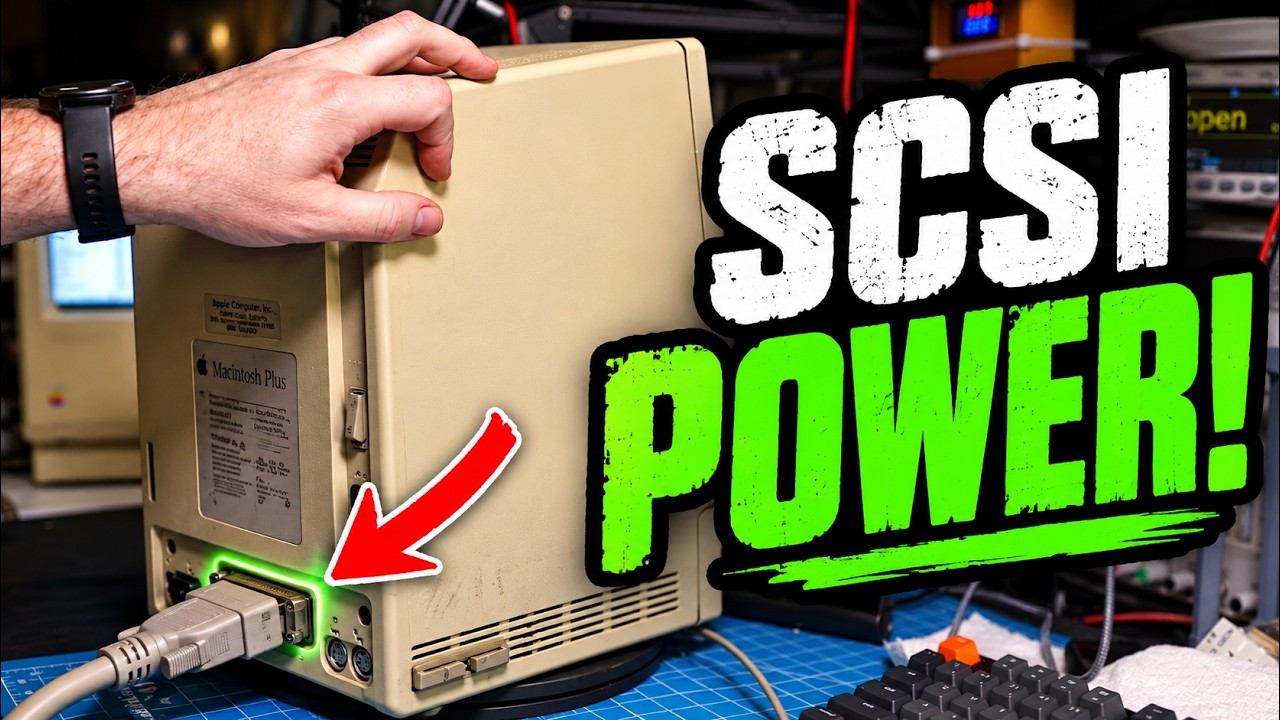
The Macintosh Plus, a beloved piece of computing history, is known for its robust design and innovative features for its time. However, one drawback of this vintage machine is its external SCSI port, which, unlike later models, does not supply power to external SCSI devices. In an exciting new modification, the creator of this video takes on the challenge of adding a powered SCSI port to the Macintosh Plus, greatly enhancing its usability with modern SCSI devices and adapters.
A Convenient Upgrade
This modification not only makes it easier to connect modern equipment without the hassle of separate power supplies but also breathes new life into the classic Macintosh Plus. The video walks viewers through the step-by-step process of upgrading the SCSI port, showcasing the technical skills required to perform such a modification. This upgrade serves as a perfect example of how vintage technology can be adapted for contemporary use, ensuring that these machines remain functional and relevant.
Floppy Drive Restoration
While performing the SCSI modification, the creator also takes the opportunity to address another common issue with the Macintosh Plus—the floppy drive. Over time, the internal mechanisms can become gummed up with old grease, leading to operational problems. Viewers are guided through the disassembly of the floppy drive, where old grease is meticulously removed, and the drive is re-lubricated to restore its original functionality.
Innovative Solutions
One of the standout moments in the video is the replacement of the notorious broken eject gear. Using 3D printing technology, the creator produces a new eject gear, demonstrating the intersection of retro computing and modern fabrication techniques. This innovative solution not only highlights the creativity involved in restoring vintage hardware but also underscores the growing accessibility of 3D printing for hobbyists and tech enthusiasts alike.
Testing and Reassembly
After completing both the SCSI modification and the floppy drive restoration, the creator meticulously tests the entire system to ensure everything is working properly before reassembly. This final step is crucial, as it confirms that the modifications have enhanced the Macintosh Plus’s performance and usability, allowing it to function seamlessly with both vintage and modern peripherals.
If you’re passionate about vintage computers, electronics repair, or simply enjoy the thrill of modifying collectible hardware, this video is a must-watch. It showcases not only technical expertise but also a deep appreciation for the Macintosh Plus and its place in computing history. Subscribe for more engaging content that dives into the world of retro computing and restoration projects!
The Macintosh Plus has an external SCSI port… but unlike some later Macs, it doesn't provide power for external SCSI devices. Let's fix that!
In this video I modify my Macintosh Plus to provide power through the external SCSI port, making it much more convenient to use with modern SCSI devices and adapters without needing a separate power supply.
While I had the Plus apart, I also tackled its floppy drive. The mechanism was cleaned, old grease was removed, everything was re-lubricated, and I replaced the infamous broken eject gear with a new 3D-printed one.
So this Macintosh Plus gets both a useful modern upgrade and some much-needed 1980s mechanical maintenance.
🔧 In this video: • Macintosh Plus external SCSI power modification • Floppy drive disassembly and cleaning • Removing old hardened grease • Re-lubricating the drive mechanism • 3D printing a replacement floppy eject gear • Testing everything after reassembly
If you're into vintage computers, electronics repair, restoration and questionable modifications to perfectly collectible hardware, subscribe for more!
#Macintosh #VintageMac #RetroComputing #MacintoshPlus #Apple #ComputerRepair #3DPrinting
Watch on YouTube: Giving the Macintosh Plus a Powered SCSI Port
Subscribe: Click here