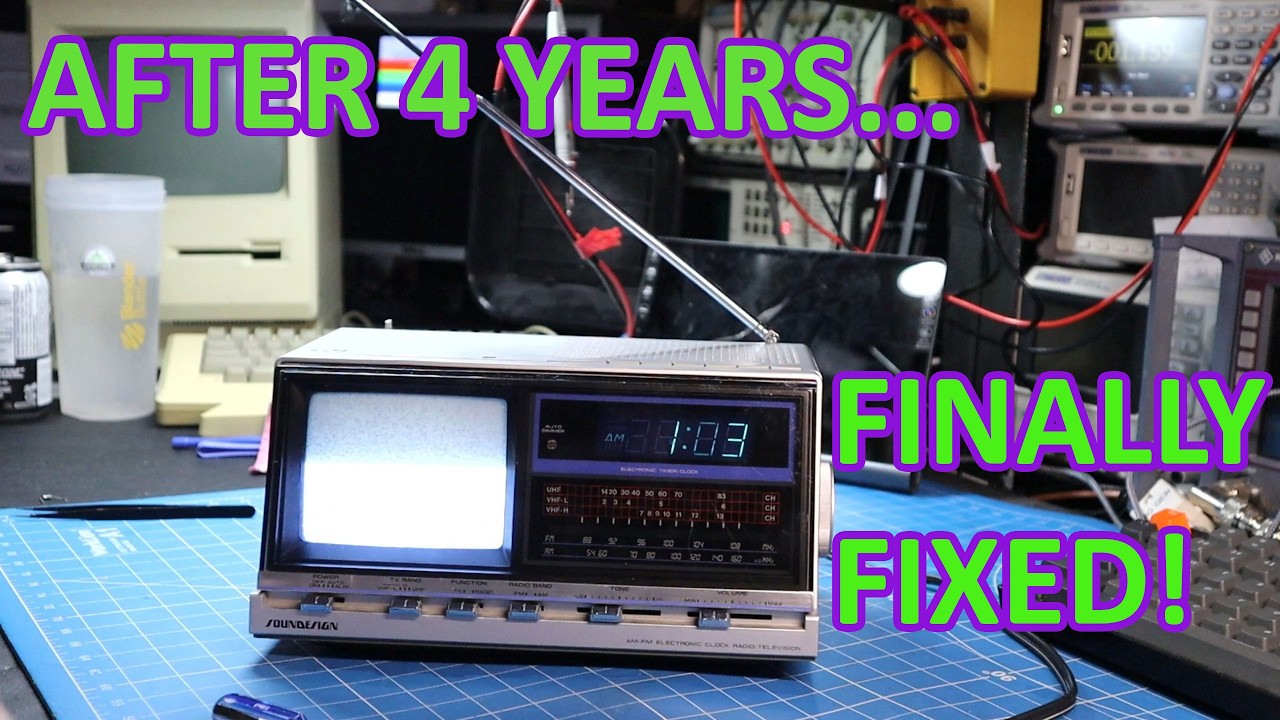
I Finally Finished This Repair… After 4 Years

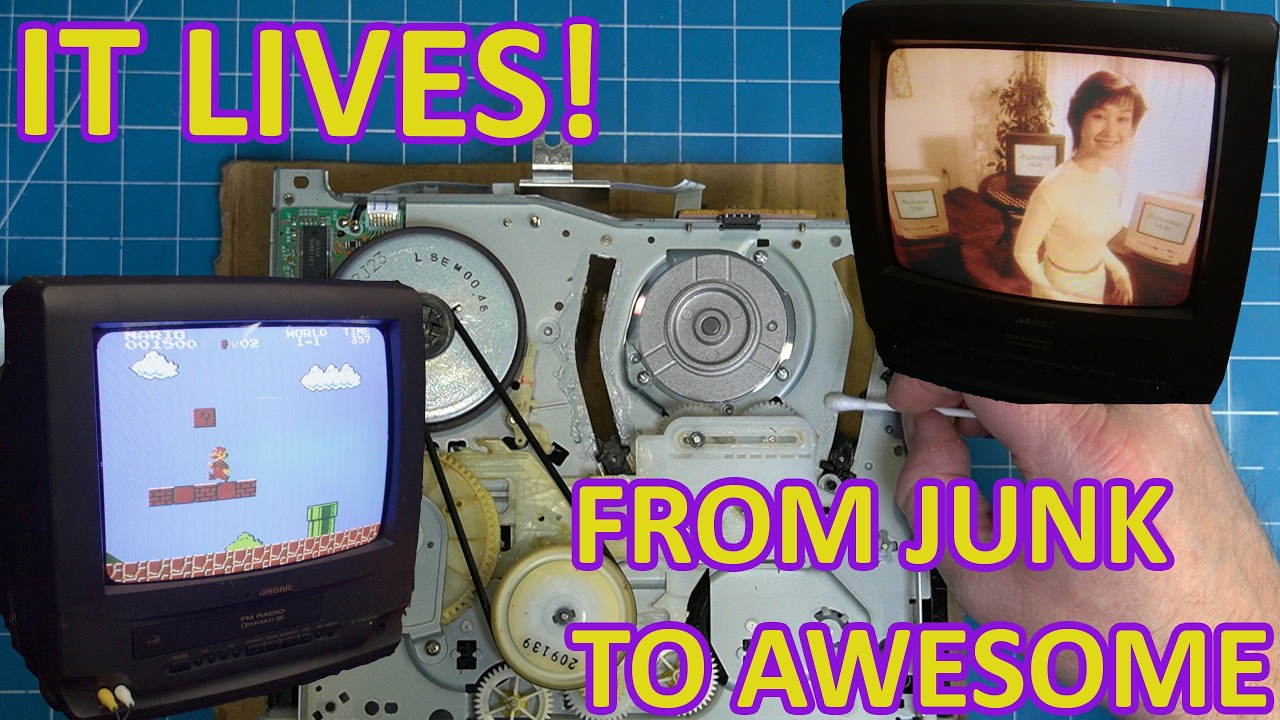
Four years ago I tore into this Soundesign Model 3939—a strange combination of an AM/FM radio, alarm clock, and a built-in 5-inch black and white CRT television. Then life happened, the project got pushed aside, and it sat on a shelf waiting to be finished.

In this video I'm finally dusting it off and seeing if I can get this unusual piece of vintage electronics working again. Along the way we'll troubleshoot decades-old circuitry, repair the faults, and find out if this little CRT TV still has some life left in it.

I love rescuing forgotten electronics like this, especially the weird designs that most people have never seen before.

If you enjoy vintage computers, retro electronics, CRTs, radio repairs, and hardware restoration, you're in the right place.

Subscribe for more retro repairs, vintage computer restorations, hardware hacking, and electronics projects.

Equipment Featured

Soundesign Model 3939 5" Black & White CRT Television AM/FM Clock Radio

#CRT #VintageElectronics #ElectronicsRepair #RetroTech #ClockRadio #Television #Repair #Restoration #Soundesign #SalvageGeek

Watch on YouTube: I Finally Finished This Repair… After 4 Years

Subscribe: Click here

I Tracked the Fault… But This Icom ID-880H Was Beyond Repair

Welcome back to the bench! In this fascinating repair journey, we explore the troubleshooting process of an Icom ID-880H radio that refuses to power on. The radio itself is known for its quality, but this particular unit presents a challenge as it has been non-functional for some time. The repair technician begins the process by injecting power into various points of the radio to diagnose the no-power issue, which is often linked to faulty voltage regulators.

Initial Troubleshooting Steps

The technician starts by preparing the radio for testing, using a current-limited power supply to avoid damage. A blown fusible link is identified as a potential culprit, hinting at a previous misconnection. After confirming the presence of 13.8 volts at certain points, the technician discovers that multiple voltage outputs are missing, prompting a deeper investigation into the internal components, including the critical IC20 voltage regulator.

Identifying the Problematic Components

As the technician probes IC20, it becomes evident that the regulator may be faulty. After temporarily bypassing some resistors, the technician removes the regulator to eliminate it as a source of a short circuit. The tests indicate that the short is no longer present, suggesting that IC20 was indeed the issue. However, subsequent tests reveal that another voltage regulator, IC21, is also problematic, requiring a thorough examination of the circuit.

Digging Deeper into the Circuit

The technician continues the investigation, using a thermal gun to identify overheating components. This reveals that a specific capacitor and a ferrite bead are also potential failures in the power circuit. The meticulous approach of checking each component leads to the discovery that the CPU itself is heating up significantly, indicating a possible short. This discovery raises the stakes, as the CPU is a critical component that could be difficult to replace.

The Dilemma of Repairing the Icom ID-880H

Ultimately, the technician concludes that the CPU is the source of the problem, but unfortunately, Icom does not sell the microprocessor separately. Even if available from third-party sources, the programming required for the CPU is proprietary to Icom, leaving the technician at a standstill. This scenario illustrates the challenges faced in repairing modern electronics, particularly when proprietary components are involved.

As the video wraps up, the technician reflects on the hurdles faced during this repair project, offering insights into the troubleshooting process and the technical challenges of working with complex electronic devices. For those interested in electronics repair, this case serves as a valuable lesson in patience and persistence. If you enjoyed this troubleshooting journey, be sure to leave your thoughts in the comments!

Not every repair has a happy ending… and that's part of troubleshooting.

In this video I take a look at a completely dead Icom ID-880H dual-band amateur radio. Starting with a shorted 5V rail, I follow the evidence through multiple failed components before eventually uncovering the real culprit—a failed CPU that had internally shorted the supply.

Unfortunately, replacement CPUs for this radio simply aren't available, so this one ends up becoming a donor for future repairs. While I couldn't bring it back to life, the troubleshooting journey is still a great example of methodically tracking down a difficult fault.

In this video:

Diagnosing a dead Icom ID-880H Tracking down a 5V short circuit Testing and replacing damaged components Finding the failed CPU Why some radios simply can't be repaired

Sometimes the most valuable repair is learning when a device is beyond saving.

If you enjoy electronics repair, vintage computers, radios, hardware hacking, and bringing old technology back to life, consider subscribing for more projects.

#Icom #HamRadio #AmateurRadio #ElectronicsRepair #RadioRepair #ID880H #Troubleshooting #CircuitRepair #Electronics #SalvageGeek

Watch on YouTube: I Tracked the Fault… But This Icom ID-880H Was Beyond Repair

Subscribe: Click here

I Saved This Macintosh LC II With a Toothbrush and Soldering Iron

I rescued this Macintosh LC II from the junk pile to see if it could be brought back to life.

This poor machine had everything you’d expect from a neglected early ’90s Macintosh: leaking electrolytic capacitors, corrosion on the logic board, a power supply full of failed capacitors, and even a broken case. In this video I completely tear it down, deep clean everything, recap both the logic board and power supply, repair the damaged plastics, and put it all back together.

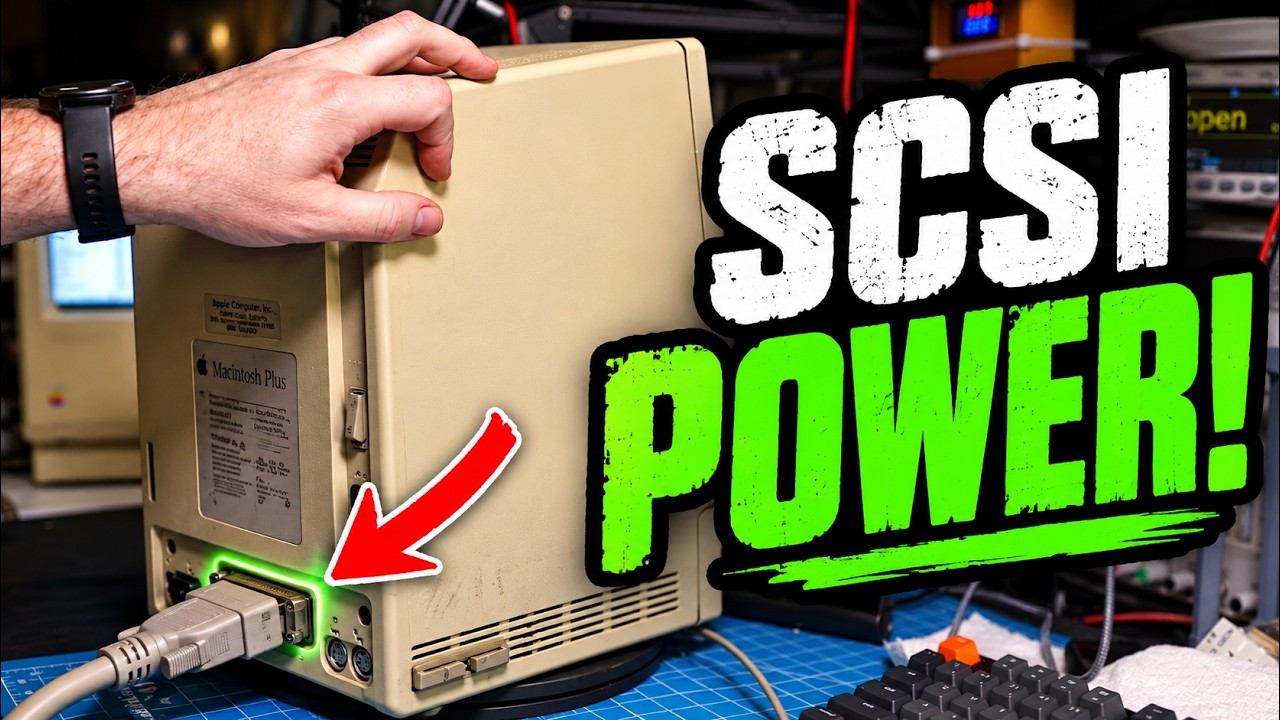
Just when it looked like the restoration was complete, I ran into one last problem—the external SCSI port refused to work. After a bit of troubleshooting, the culprit turned out to be much simpler than expected.

Once everything was finally working, it was time to load up a few classic Macintosh games and see this 68030-powered machine doing what it was built to do over 30 years ago.

If you enjoy restoring vintage computers, repairing old electronics, and keeping retro technology alive, consider subscribing for more videos every week.

#Macintosh #Apple #MacintoshLCII #VintageComputers #RetroComputing #CapacitorReplacement #Recapping #ElectronicsRepair #ComputerRestoration #68kMac #ClassicMac #RetroTech #SalvageGeek

Watch on YouTube: I Saved This Macintosh LC II With a Toothbrush and Soldering Iron

Subscribe: Click here

How to Program a Kenwood NX-740H Mobile Radio

In this video I’ll show you how to program a Kenwood NX-740H mobile radio.

Software used: KPG-175DN

Program cable used: KPG-46

If you found this video helpful, please consider subscribing for more radio, electronics repair, retro computing, and technical how-to videos.

👍 Like the video if it helped. 💬 Leave a comment if you have questions or would like to see more Kenwood programming tutorials.

#Kenwood #NX740H #TwoWayRadio #HamRadio #LandMobileRadio #RadioProgramming #KenwoodNX #Electronics #SalvageGeek

Watch on YouTube: How to Program a Kenwood NX-740H Mobile Radio

Subscribe: Click here

Can This $20 eBay Yaesu FT-7100 Be Saved?

If you’re a fan of amateur radio or have a penchant for vintage electronics, the thrill of resurrecting a non-working device can be incredibly rewarding. In a recent YouTube video, an electronics enthusiast took on the challenge of reviving a Yaesu FT-7100, a dual-band mobile transceiver purchased from eBay for just $20. The catch? The unit was sold as non-working, with the previous owner having cut the power cable off. This intriguing journey into the world of repair showcases not only the excitement of troubleshooting but also the satisfaction of bringing an old piece of technology back to life.

Restoring the Power Connection

The first step in this repair adventure involved creating a new power lead to restore the missing connection. After successfully powering up the Yaesu FT-7100, the initial excitement quickly turned to concern as the unit exhibited intermittent transmit power. This issue sent the technician down a rabbit hole of diagnostics, involving meticulous checks of the RF output and power amplifier (PA) section. It was clear that while the radio had potential, there were underlying issues that needed to be addressed before it could function reliably.

Troubleshooting Challenges

Diagnosing the intermittent transmit power was no small feat. The technician meticulously tested various components, hoping to pinpoint the root cause of the problem. This phase of the repair process featured a variety of troubleshooting techniques, showcasing the complexities often involved in electronics repair. After a thorough investigation, the technician discovered that the issue stemmed from a much simpler fault than anticipated.

The Final Fix

Ultimately, the culprit was identified as a defective antenna connector, which was replaced during the repair process. Following the replacement, the technician conducted final transmit power tests, ensuring that the Yaesu FT-7100 was back to full functionality. The successful restoration of the radio not only demonstrated the technician’s skill and perseverance but also highlighted the joy of repairing equipment that many would have deemed beyond saving.

Join the Repair Journey

This video is a must-watch for anyone interested in radio repairs, vintage electronics, or simply the thrill of salvaging seemingly lost technology. The creator encourages viewers who share this passion to subscribe for more exciting radio repair projects and retro electronics adventures. With a wealth of knowledge to share and many more repairs on the horizon, this channel is poised to become a valuable resource for enthusiasts and tinkerers alike.

I picked up this Yaesu FT-7100 on eBay knowing it was being sold as non-working. The first clue was obvious—the previous owner had cut the power cable off the radio. After making a new power lead, the radio powered up… but the repair was far from over.

Transmit power was intermittent, sending me down the rabbit hole of troubleshooting RF output, checking the PA section, and hunting for the real fault. In the end, the culprit turned out to be something much simpler than expected.

In this video I'll show the entire repair process, the troubleshooting steps, and the final fix that brought this dual-band mobile back to life.

In this video:

Restoring the missing power connector Initial power-up and testing Diagnosing intermittent transmit power Finding the real fault Replacing the defective antenna connector Final transmit power tests

If you enjoy repairing amateur radio equipment, vintage electronics, and buying questionable "for parts" gear from eBay, consider subscribing. There are plenty more radio repairs and retro electronics projects coming soon!

Equipment Featured

Yaesu FT-7100 Dual Band Mobile Transceiver Rohde & Schwarz CMU200 Communications Tester Bench power supply Soldering and repair tools

#HamRadio #Yaesu #FT7100 #RadioRepair #ElectronicsRepair #AmateurRadio #eBayFinds #RF #Soldering #SalvageGeek

Watch on YouTube: Can This $20 eBay Yaesu FT-7100 Be Saved?

Subscribe: Click here

This Macintosh SE/30 Refused to Boot

Full Video Description

This Macintosh SE/30 arrived on the bench with the classic Simasimac display and refused to boot. What looked like a straightforward logic board repair turned into a deeper troubleshooting session when multiple broken traces were discovered.

In this video I diagnose the startup failure, repair a damaged trace with a bodge wire, and get the machine booting again. Unfortunately the repair isn't over yet—after bringing the system back to life another fault appears, leaving the machine with no sound. More detective work uncovers a second broken trace that also needs repair.

Topics covered:

Macintosh SE/30 logic board repair Simasimac diagnosis and troubleshooting Corrosion damage and broken traces Bodge wire repairs SE/30 sound circuit troubleshooting Vintage Macintosh restoration

If you enjoy vintage Macintosh repairs, retro computing, electronics troubleshooting, and component-level board repair, consider subscribing.

#macintosh #se30 #retromac #vintagecomputer #electronicsrepair

Watch on YouTube: This Macintosh SE/30 Refused to Boot

Subscribe: Click here

Essential Thermal Paste #shorts

When it comes to maintaining optimal performance in your computer, one of the often-overlooked components is thermal paste. This essential substance plays a critical role in ensuring effective heat transfer between the CPU or GPU and the heat sink. In the short video, the speaker emphasizes the importance of using the exact right amount of thermal paste for optimal results.

The Importance of Thermal Paste

Thermal paste is crucial for preventing overheating in computer components. When CPUs or GPUs generate heat, thermal paste helps dissipate that heat away from the chip, allowing for smoother operation and increased longevity of your hardware. Without adequate thermal paste, your system can suffer from thermal throttling or even permanent damage, making it vital for any DIY computer builder or enthusiast to understand its significance.

Finding the Right Consistency

One key takeaway from the video is the notion that less is more when it comes to applying thermal paste. The speaker suggests that applying too much paste can lead to a mess and may even hinder heat transfer. On the other hand, not applying enough can result in inadequate cooling. Therefore, finding that perfect balance is essential for achieving the best thermal conductivity.

Application Techniques

The method of application is just as crucial as the amount used. The speaker encourages viewers to consider various application techniques, including the dot method or spreading method, to ensure even coverage. Each technique has its benefits and can be chosen based on personal preference, but the goal remains the same: to provide an effective thermal interface without excess paste spilling over the sides.

Final Thoughts

In summary, the video serves as a quick yet informative reminder of the importance of thermal paste in computer maintenance. By understanding how much to use and the best application techniques, you can significantly enhance your system’s cooling efficiency. So, whether you’re building a new rig or upgrading an existing one, remember that the right amount of thermal paste is essential for keeping your components running smoothly and efficiently.

The exact right amount

Watch on YouTube: Essential Thermal Paste #shorts

Subscribe: Click here