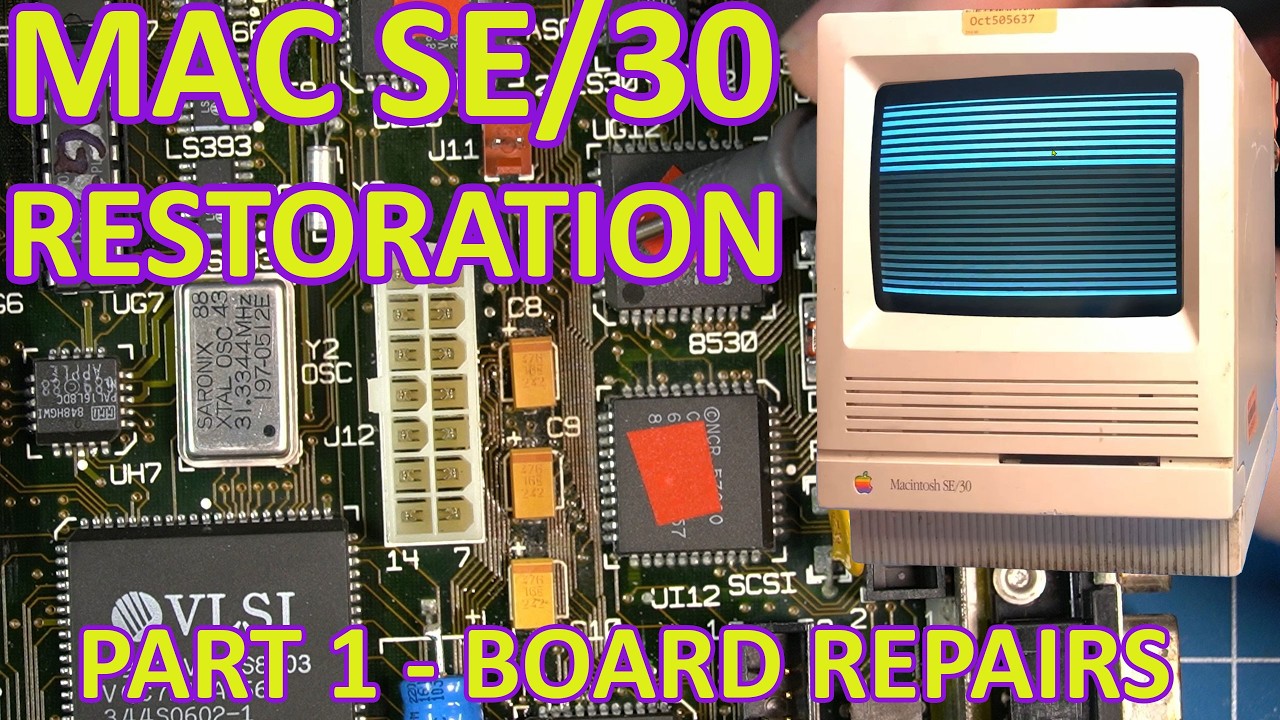
In a fascinating journey of retro tech restoration, the latest episode on restoring a Macintosh SE/30 takes viewers through a meticulous process of diagnosing and repairing a classic computer. From the outset, the host reveals the unit’s condition, including a dirty case with evident scuff marks and a malfunctioning floppy drive showing signs of corrosion, which raises concerns about potential battery leakage. Fortunately, the speaker quickly assesses that the battery itself has not caused severe damage, with the primary culprit likely being leaking capacitors, a common issue with this model.
Initial Assessment and Diagnosis
Upon disassembling the Macintosh SE/30, the host uncovers significant corrosion on the logic board, particularly around the floppy drive and various chips. Despite the grim state of the board, it presents an advantage due to its older revision, featuring a socketed CPU. This allows for easier testing and potential swapping of components. After a thorough cleaning of the board, the discussion shifts to troubleshooting, where the speaker employs a detailed schematic to identify possible faults in the RAM and ROM connections. This meticulous approach sets the stage for a deeper exploration of data lines and their connections on the board.
Testing and Troubleshooting
As the restoration progresses, the host utilizes a systematic method to check the continuity of data lines, employing a matrix from the schematic as a reference. This methodical testing reveals a significant issue with data line 28, which is found to be shorted to the 5V rail. The speaker hypothesizes that either a faulty chip or a corroded trace could be responsible for this short circuit. The process involves isolating various chips by cutting traces on the board to pinpoint the exact source of the problem. The host’s careful explanation of this troubleshooting process demystifies the complexities involved in diagnosing vintage computer logic boards.
Discovering the Problem
In a surprising twist, the culprit for the short circuit is identified as a tiny solder ball that had formed during previous repairs. The host reveals how this minor oversight created significant issues, illustrating the challenges of working with older technology. After addressing the short, the speaker proceeds to make a bodge wire connection to restore functionality to data line 28. This hands-on approach showcases the intricate relationship between hardware repair and troubleshooting, revealing the patience and skill required to breathe new life into vintage machines.
Successful Boot and Next Steps
With the short resolved, the moment of truth arrives as the Macintosh SE/30 is powered on. The familiar chime signals progress, indicating that critical components are functioning correctly. However, the host encounters another hurdle with the RAM, which turns out to be faulty. This common issue with older computers leads to further testing and replacement of RAM modules, ultimately resulting in a successful boot into the operating system. The excitement in the host’s voice is palpable as they share the satisfaction of overcoming these challenges.
As the first part of this restoration journey concludes, viewers are left with a sense of anticipation for the upcoming episodes. The speaker promises to tackle the restoration of the chassis and other enhancements in the next installment, encouraging the audience to join in this thrilling march of Macintosh restoration. With a blend of technical expertise and engaging storytelling, the video captures the essence of vintage computing and the joy of bringing old systems back to life.
In this video we will start restoring a Macintosh SE/30 with some corrosion on the board and chassis. This Mac is showing Horizontal lines which is a very common problem, often called Simasimac.
Watch on YouTube: Macintosh SE/30 – Restoration Part 1 – Logic board repair #marchintosh
Subscribe: Click here