
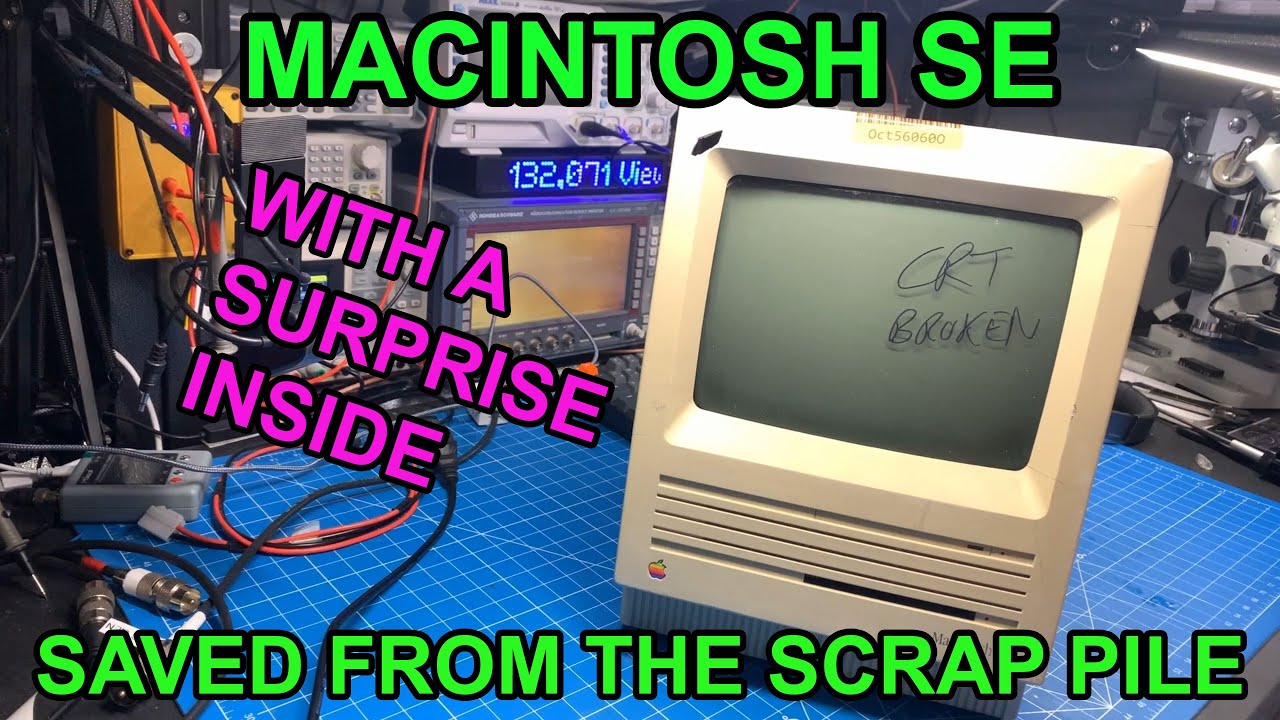
Can Two Dead Macintosh SEs Make One Working Computer?

The latest episode from the bench features an intriguing project where the host attempts to resurrect a broken Macintosh SE by utilizing components from another non-functional unit. This hands-on exploration not only highlights the charm of vintage computing but also dives into the technical challenges associated with restoring these classic machines. The video begins with an overview of the Macintosh SE, focusing on its broken CRT and the unique video interface modulator discovered inside, stirring curiosity about its potential outputs.

Disassembly and Component Analysis

The host meticulously disassembles the first Macintosh SE, documenting the condition of its internal components, including the motherboard, hard drive, and floppy drive. While the original capacitors appear intact, the age of these components raises concerns about their reliability. The host notes the presence of a corroded battery and plans to replace all capacitors to ensure better longevity. In an amusing twist, a hidden Canadian two-dollar coin, known as a “toonie,” is found during the disassembly, providing a light-hearted moment in the process.

Swapping Cases and Cleaning Up

Next, the video transitions to the second Macintosh SE case, which has a functioning CRT but is missing its motherboard. The host successfully swaps several components, including the floppy drive and the analog board, while cleaning up the dusty and grimy internals. A thorough rinse in the sink helps restore the case to a more presentable condition, showcasing the dedication to reviving these nostalgic machines. Meanwhile, the host expresses a desire to retro-brighten the case in the future, although for now, he appreciates its seasoned appearance.

Capacitor Replacement and Initial Testing

With the components in place, the host proceeds to recap the logic and analog boards, replacing aging capacitors to enhance functionality. This step is crucial for ensuring that the Macintosh SE will operate reliably in the years to come. After completing the recap, the moment of truth arrives as the system is powered on. To the delight of both the host and viewers, the Macintosh boots up successfully, presenting a cursor and responding to commands, although the hard drive proves to be non-functional.

Exploring the Video Modulator

One of the most exciting parts of the video centers around the mysterious video interface modulator found in the first unit. The host connects it to an oscilloscope to analyze the signals and discovers that it outputs a composite video signal. Although challenges arise when trying to connect it to a capture device, the host remains optimistic about future explorations with this component. He plans to investigate further, potentially connecting it to more advanced video equipment to capture the output properly.

Conclusion and Future Projects

By the end of the episode, viewers witness the successful resurrection of the Macintosh SE, now fully recapped and equipped with modern upgrades like a blue SCSI device that connects to the internet. The host hints at future projects, including restoring additional vintage Macs and further investigating the video modulator. This engaging journey through retro computing showcases the challenges and joys of working with vintage technology, leaving viewers excited for what’s to come. As the host invites audience interaction through comments and feedback, it’s clear that the passion for restoring these classic machines is alive and well.

This Mac SE was tossed in the garbage bin and needs some love. It has an interesting modification inside. Luckily I have another abandoned donor that we can piece together.

Watch on YouTube: Can Two Dead Macintosh SEs Make One Working Computer?

Subscribe: Click here
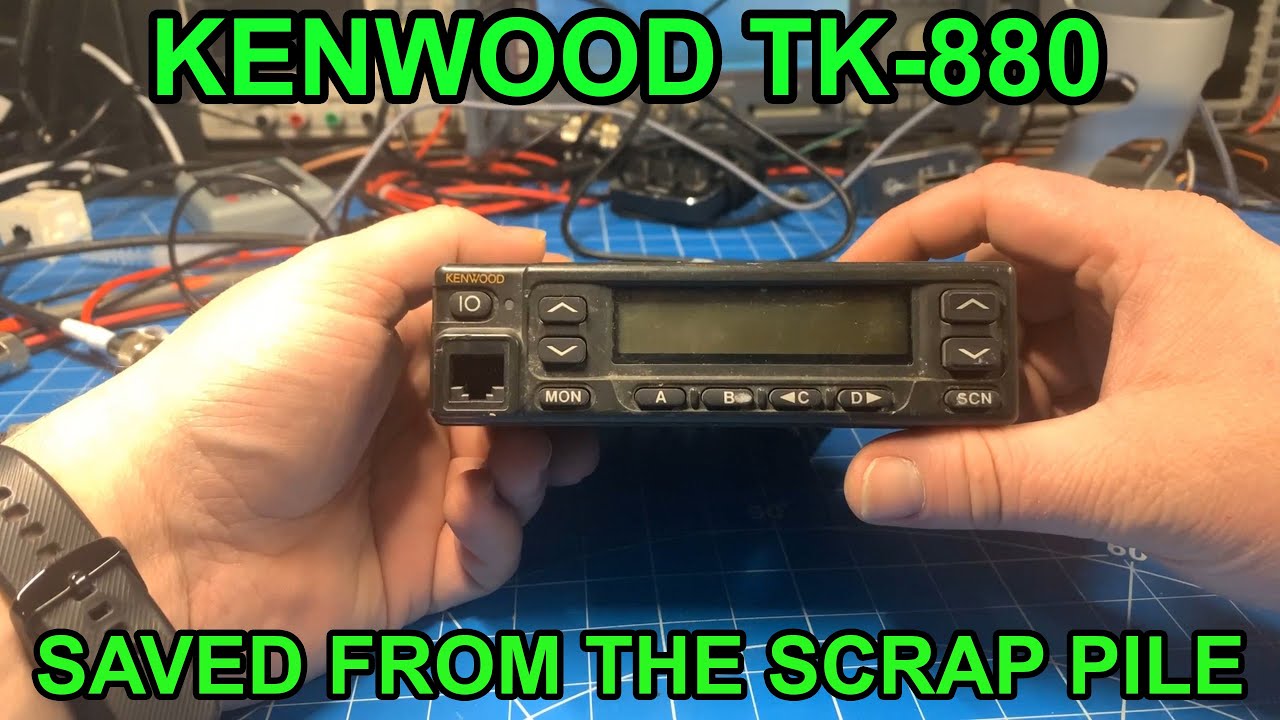
Salvaging a Kenwood TK-880

In the latest bench repair session, our radio enthusiast tackles a Kenwood TK-880 UHF mobile radio, which has seen better days after being snipped out of a truck. The objective? To repair the antenna and power connectors and determine if the radio is still operational. Right away, a missing screw raises some eyebrows, but upon closer inspection, there are no major red flags aside from a slightly spread coil that likely won’t affect functionality.

The repair process begins with the removal of the speaker to access the connectors. Our expert uses a solder sucker to detach the damaged connections, carefully working with the soldering iron to avoid damaging the radio’s internals. With a good inventory of spare parts on hand, he swaps the antenna pigtail from a donor radio and prepares to build a new power cable using 14-gauge wire, which is sufficient for a 25-watt radio like this one. This attention to detail ensures that the radio will be robust and reliable once reassembled.

Once the power cable is ready and the connectors are securely soldered, the speaker is reattached, and it’s time for testing. The radio is connected to a Motorola set, allowing the technician to check for any existing programming. After some trial and error, the radio is successfully programmed, revealing previous frequencies likely used in the San Francisco area. The testing shows a promising output of 20.5 watts, which aligns with the radio’s specifications, confirming it’s still functional.

However, not everything is perfect. The receive sensitivity is a bit weak, indicating potential issues with the volume or speaker quality. To troubleshoot, the technician replaces the existing speaker with another Kenwood model, significantly improving the sound quality. This simple swap suggests that the original speaker was likely the culprit behind the weak audio. With the new speaker in place, the technician plans to perform an alignment to optimize the radio’s performance further.

In conclusion, this Kenwood TK-880 radio is salvaged from the brink of obsolescence, showcasing the importance of repair and restoration in the world of electronics. Despite being a 25-watt unit, it is versatile enough for GMRS or amateur radio use, making it a valuable asset for any radio enthusiast. After some final adjustments and alignments, this radio will soon find a new home—perhaps even listed on eBay for someone else to appreciate. With every successful repair, our technician not only saves a piece of equipment but also contributes to the sustainability of technology in our modern world.

Saving this Kenwood TK-880 from the garbage pile. Somebody cut teh cables off and left it for dead. Let's see if we can rescue it.

Watch on YouTube: Salvaging a Kenwood TK-880

Subscribe: Click here

How to Program an unlocked Yaesu FT-2900

In this informative video from Salvage Geek, the host dives into the nuances of programming an unlocked Yaesu FT-2900 radio. The key takeaway is a newly uncovered setting in the Chirp software that enables programming for radios that have been unlocked for transmit and receive. This discovery comes after the host initially encountered issues while attempting to program the device, leading to confusion about a potential hardware fault. The video aims to clarify this common problem for viewers who may have experienced similar challenges.

Getting Started with Programming

The process begins with connecting the radio to a computer via a programming cable. The host demonstrates how to access the device manager to identify the correct COM port for the FT-2900. After selecting the appropriate model in Chirp—either the standard FT-2900R or the unlocked version—the host attempts to download settings from the radio. However, the initial attempts result in communication failures, prompting further exploration into the programming options available.

Unlocking the Secrets of the FT-2900

As the host navigates through the programming process, they highlight the importance of correctly identifying the radio model. The unlocked version of the radio presents unique challenges, particularly regarding its programming capabilities. The host emphasizes that once the radio is modified for wider frequency access, it may lose some of its original programming features. This is crucial information for anyone looking to get the most out of their unlocked FT-2900.

Successful Programming Techniques

After some trial and error, the host successfully enters Clone mode on the radio, which allows for programming to proceed. They demonstrate how to program a test frequency into the radio, showcasing the updated features in Chirp that accommodate unlocked radios. The video serves as a practical guide, illustrating the step-by-step process to ensure successful programming without hardware issues. The host’s excitement is palpable as they confirm the successful upload of frequencies, providing an audio check to demonstrate functionality.

Updates and Community Contributions

One of the standout moments in the video is the host’s appreciation for the ongoing updates in Chirp. They encourage viewers to ensure they are using the latest version of the software to access the newly added options for programming unlocked radios. This insight showcases how community contributions can enhance user experience, making it easier for amateur radio enthusiasts to navigate similar issues.

In conclusion, this video effectively addresses a common concern among users of the Yaesu FT-2900 radio. By sharing their experience and the workaround for programming unlocked radios, the host provides valuable information that can save others time and frustration. Viewers are encouraged to engage with the content by liking the video, subscribing for more insights, and sharing their own experiences in the comments. For anyone working with the FT-2900, this video is a must-watch to ensure successful programming and optimal use of the device.

This is how to program an unlocked Yaesu FT-2900.

I get this question often. This is now a feature built right into CHIRP software. If you don't see it in your radio list, then you need to download a newer version of CHIRP.

Watch on YouTube: How to Program an unlocked Yaesu FT-2900

Subscribe: Click here