I Finally Finished This Repair… After 4 Years

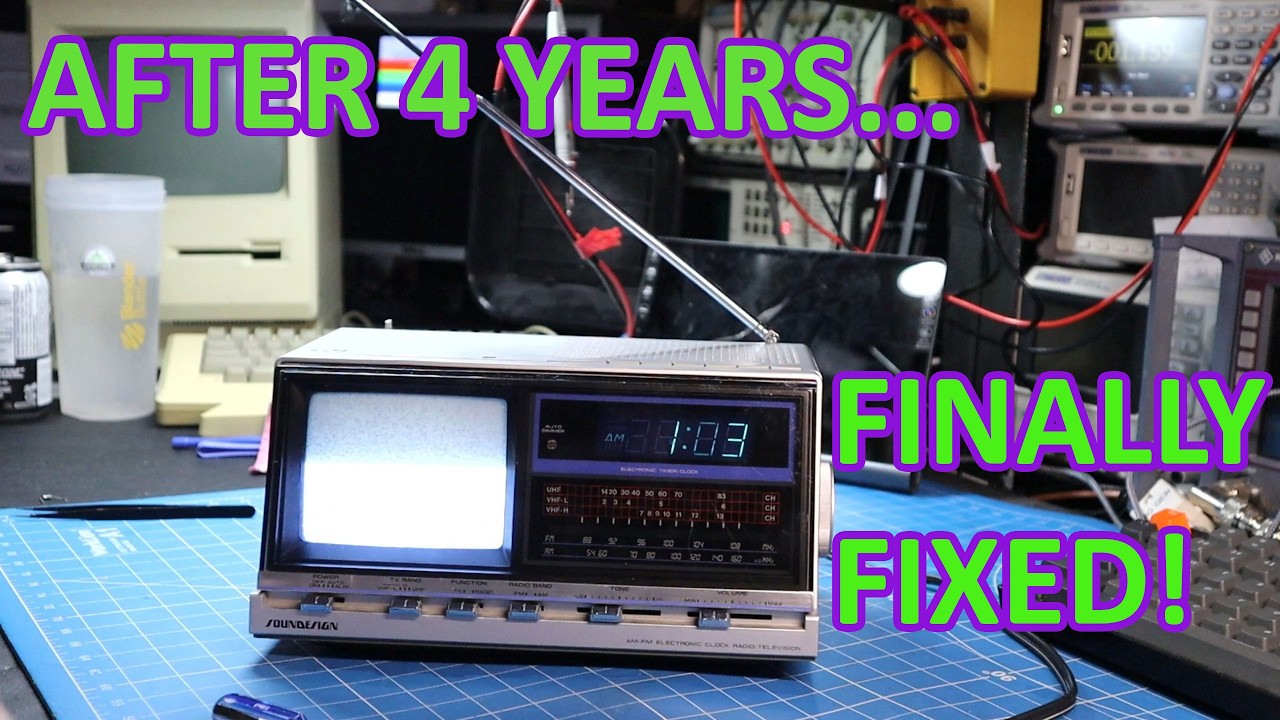
Four years ago I tore into this Soundesign Model 3939—a strange combination of an AM/FM radio, alarm clock, and a built-in 5-inch black and white CRT television. Then life happened, the project got pushed aside, and it sat on a shelf waiting to be finished.

In this video I'm finally dusting it off and seeing if I can get this unusual piece of vintage electronics working again. Along the way we'll troubleshoot decades-old circuitry, repair the faults, and find out if this little CRT TV still has some life left in it.

I love rescuing forgotten electronics like this, especially the weird designs that most people have never seen before.

If you enjoy vintage computers, retro electronics, CRTs, radio repairs, and hardware restoration, you're in the right place.

Subscribe for more retro repairs, vintage computer restorations, hardware hacking, and electronics projects.

Equipment Featured

Soundesign Model 3939 5" Black & White CRT Television AM/FM Clock Radio

#CRT #VintageElectronics #ElectronicsRepair #RetroTech #ClockRadio #Television #Repair #Restoration #Soundesign #SalvageGeek

Watch on YouTube: I Finally Finished This Repair… After 4 Years

Subscribe: Click here

I Tracked the Fault… But This Icom ID-880H Was Beyond Repair

Welcome back to the bench! In this fascinating repair journey, we explore the troubleshooting process of an Icom ID-880H radio that refuses to power on. The radio itself is known for its quality, but this particular unit presents a challenge as it has been non-functional for some time. The repair technician begins the process by injecting power into various points of the radio to diagnose the no-power issue, which is often linked to faulty voltage regulators.

Initial Troubleshooting Steps

The technician starts by preparing the radio for testing, using a current-limited power supply to avoid damage. A blown fusible link is identified as a potential culprit, hinting at a previous misconnection. After confirming the presence of 13.8 volts at certain points, the technician discovers that multiple voltage outputs are missing, prompting a deeper investigation into the internal components, including the critical IC20 voltage regulator.

Identifying the Problematic Components

As the technician probes IC20, it becomes evident that the regulator may be faulty. After temporarily bypassing some resistors, the technician removes the regulator to eliminate it as a source of a short circuit. The tests indicate that the short is no longer present, suggesting that IC20 was indeed the issue. However, subsequent tests reveal that another voltage regulator, IC21, is also problematic, requiring a thorough examination of the circuit.

Digging Deeper into the Circuit

The technician continues the investigation, using a thermal gun to identify overheating components. This reveals that a specific capacitor and a ferrite bead are also potential failures in the power circuit. The meticulous approach of checking each component leads to the discovery that the CPU itself is heating up significantly, indicating a possible short. This discovery raises the stakes, as the CPU is a critical component that could be difficult to replace.

The Dilemma of Repairing the Icom ID-880H

Ultimately, the technician concludes that the CPU is the source of the problem, but unfortunately, Icom does not sell the microprocessor separately. Even if available from third-party sources, the programming required for the CPU is proprietary to Icom, leaving the technician at a standstill. This scenario illustrates the challenges faced in repairing modern electronics, particularly when proprietary components are involved.

As the video wraps up, the technician reflects on the hurdles faced during this repair project, offering insights into the troubleshooting process and the technical challenges of working with complex electronic devices. For those interested in electronics repair, this case serves as a valuable lesson in patience and persistence. If you enjoyed this troubleshooting journey, be sure to leave your thoughts in the comments!

Not every repair has a happy ending… and that's part of troubleshooting.

In this video I take a look at a completely dead Icom ID-880H dual-band amateur radio. Starting with a shorted 5V rail, I follow the evidence through multiple failed components before eventually uncovering the real culprit—a failed CPU that had internally shorted the supply.

Unfortunately, replacement CPUs for this radio simply aren't available, so this one ends up becoming a donor for future repairs. While I couldn't bring it back to life, the troubleshooting journey is still a great example of methodically tracking down a difficult fault.

In this video:

Diagnosing a dead Icom ID-880H Tracking down a 5V short circuit Testing and replacing damaged components Finding the failed CPU Why some radios simply can't be repaired

Sometimes the most valuable repair is learning when a device is beyond saving.

If you enjoy electronics repair, vintage computers, radios, hardware hacking, and bringing old technology back to life, consider subscribing for more projects.

#Icom #HamRadio #AmateurRadio #ElectronicsRepair #RadioRepair #ID880H #Troubleshooting #CircuitRepair #Electronics #SalvageGeek

Watch on YouTube: I Tracked the Fault… But This Icom ID-880H Was Beyond Repair

Subscribe: Click here

I Saved This Macintosh LC II With a Toothbrush and Soldering Iron

If you’re a fan of vintage computing, the story of rescuing a Macintosh LC II is one that will resonate deeply. In a recent YouTube video, a passionate retro tech enthusiast took on the challenge of reviving a neglected Macintosh LC II, which had seen better days. This classic machine, dating back to the early ’90s, was found languishing in a junk pile, riddled with issues such as leaking electrolytic capacitors, corrosion on the logic board, and a power supply filled with failed components. The journey to restore this piece of computing history was both intricate and rewarding.

Diagnosing the Damage

The restoration process began with a complete teardown of the Macintosh LC II. The host meticulously examined each component, identifying the various problems that had accumulated over the years. The logic board was particularly affected by corrosion, which is a common issue for vintage electronics. Additionally, the power supply was in dire need of attention, as it was packed with failed capacitors that could no longer provide the necessary power. The physical state of the machine was equally troubling, with broken plastics that required careful repair before reassembly could begin.

Deep Cleaning and Recapping

One of the most crucial steps in the restoration was a deep cleaning of all components. Using a toothbrush and other tools, the host diligently removed dirt and grime, ensuring that the internals were as clean as possible before proceeding with repairs. Recapping both the logic board and power supply became a priority, as replacing the failing capacitors would be essential for the Macintosh to function correctly. This process not only enhances the reliability of the machine but also extends its lifespan, a critical aspect for any vintage restoration project.

Troubleshooting the SCSI Port

Just when the restoration seemed complete, a new challenge arose: the external SCSI port was unresponsive. This unexpected hurdle led to a troubleshooting session where the host investigated potential causes. To their surprise, the solution turned out to be simpler than anticipated, showcasing the sometimes unpredictable nature of electronics repair. This moment of discovery highlighted the importance of patience and attention to detail in the restoration process.

Reviving Vintage Gaming

With all repairs completed and the Macintosh LC II back in one piece, it was finally time for some nostalgic fun. The host loaded up a selection of classic Macintosh games, allowing the 68030-powered machine to shine as it had over 30 years ago. Watching this vintage computer come back to life and perform as intended was a testament to the hard work and dedication invested in the restoration process. For enthusiasts of retro technology, this journey not only preserves a piece of computing history but also inspires others to take on their own restoration projects.

If you’re fascinated by the world of vintage computers, be sure to subscribe to the channel for more weekly content that delves into the art of electronics repair, restoration, and the joy of keeping retro technology alive. Each video is a reminder that with a bit of effort and creativity, even the most neglected machines can be brought back to life.

I rescued this Macintosh LC II from the junk pile to see if it could be brought back to life.

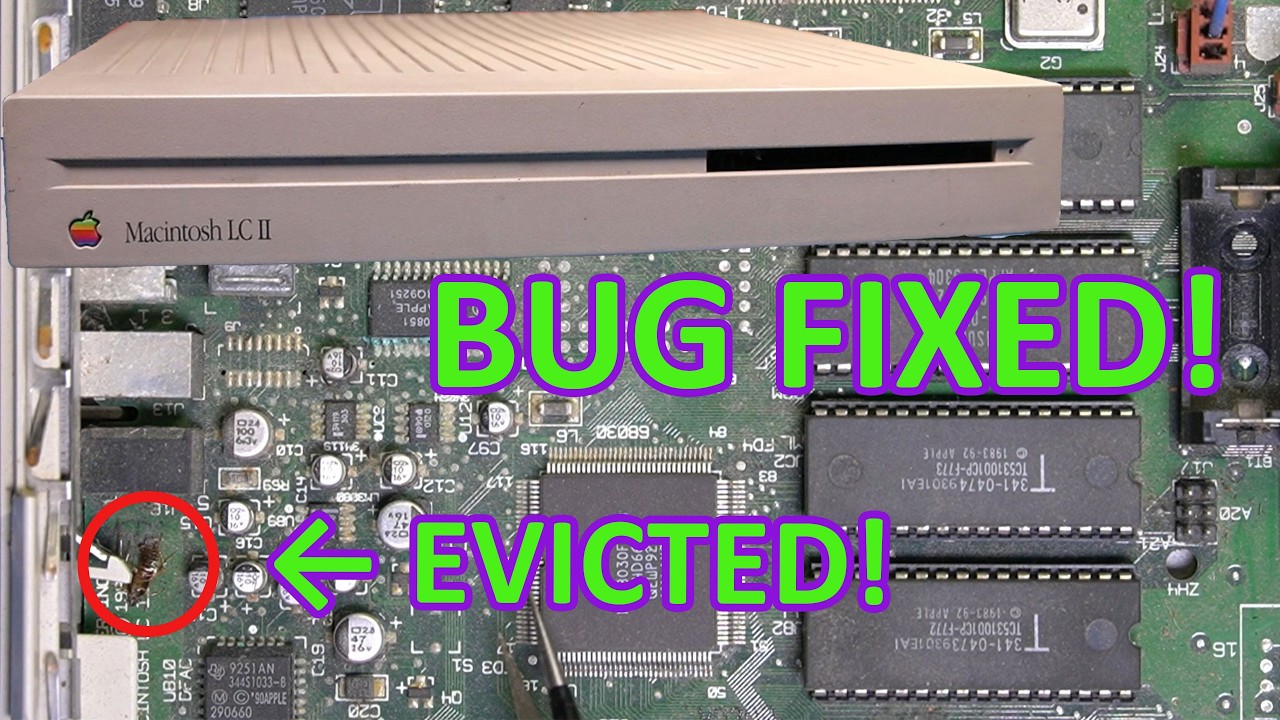
This poor machine had everything you'd expect from a neglected early '90s Macintosh: leaking electrolytic capacitors, corrosion on the logic board, a power supply full of failed capacitors, and even a broken case. In this video I completely tear it down, deep clean everything, recap both the logic board and power supply, repair the damaged plastics, and put it all back together.

Just when it looked like the restoration was complete, I ran into one last problem—the external SCSI port refused to work. After a bit of troubleshooting, the culprit turned out to be much simpler than expected.

Once everything was finally working, it was time to load up a few classic Macintosh games and see this 68030-powered machine doing what it was built to do over 30 years ago.

If you enjoy restoring vintage computers, repairing old electronics, and keeping retro technology alive, consider subscribing for more videos every week.

#Macintosh #Apple #MacintoshLCII #VintageComputers #RetroComputing #CapacitorReplacement #Recapping #ElectronicsRepair #ComputerRestoration #68kMac #ClassicMac #RetroTech #SalvageGeek

Watch on YouTube: I Saved This Macintosh LC II With a Toothbrush and Soldering Iron

Subscribe: Click here

I Saved This Macintosh LC II With a Toothbrush and Soldering Iron

I rescued this Macintosh LC II from the junk pile to see if it could be brought back to life.

This poor machine had everything you’d expect from a neglected early ’90s Macintosh: leaking electrolytic capacitors, corrosion on the logic board, a power supply full of failed capacitors, and even a broken case. In this video I completely tear it down, deep clean everything, recap both the logic board and power supply, repair the damaged plastics, and put it all back together.

Just when it looked like the restoration was complete, I ran into one last problem—the external SCSI port refused to work. After a bit of troubleshooting, the culprit turned out to be much simpler than expected.

Once everything was finally working, it was time to load up a few classic Macintosh games and see this 68030-powered machine doing what it was built to do over 30 years ago.

If you enjoy restoring vintage computers, repairing old electronics, and keeping retro technology alive, consider subscribing for more videos every week.

#Macintosh #Apple #MacintoshLCII #VintageComputers #RetroComputing #CapacitorReplacement #Recapping #ElectronicsRepair #ComputerRestoration #68kMac #ClassicMac #RetroTech #SalvageGeek

Watch on YouTube: I Saved This Macintosh LC II With a Toothbrush and Soldering Iron

Subscribe: Click here
How to Program a Kenwood NX-740H Mobile Radio

Programming the Kenwood NX-740H mobile radio can initially seem daunting, but with the right tools and guidance, you’ll find it to be a straightforward process. In this informative video, the presenter walks viewers through the essential steps needed to effectively program this versatile two-way radio. Whether you’re a seasoned ham radio operator or a newcomer to the world of mobile communications, this tutorial provides valuable insights and practical tips.

Essential Software and Hardware

The video highlights two crucial items required for programming the NX-740H: the KPG-175DN software and the KPG-46 programming cable. The KPG-175DN software is designed specifically for Kenwood radios, providing a user-friendly interface that simplifies the programming process. Meanwhile, the KPG-46 cable ensures a smooth connection between your computer and the radio, making it easy to transfer settings and configurations.

Step-by-Step Programming Guide

Throughout the video, viewers are guided through a step-by-step programming process. The presenter emphasizes the importance of familiarizing oneself with the software interface, as it will allow users to input the necessary frequencies, channels, and other configurations specific to their communication needs. By following along, viewers can learn how to set up their radios for optimal performance, whether for personal use, emergency services, or professional communications.

Engagement and Community Support

In addition to the technical content, the presenter encourages viewers to engage with the channel by subscribing and liking the video if they found it helpful. This call to action is an excellent reminder of the importance of community in the world of electronics and radio programming. The presenter also invites viewers to leave comments with questions or suggestions for future tutorials, fostering an interactive environment where enthusiasts can share knowledge and experiences.

Conclusion

In conclusion, the Kenwood NX-740H mobile radio is a powerful tool that, when programmed correctly, can significantly enhance your communication capabilities. This video tutorial serves as a valuable resource for anyone looking to delve into radio programming. With the right software, hardware, and guidance, you’ll be well on your way to mastering your NX-740H and enjoying all the benefits it has to offer. Don’t forget to subscribe for more content related to radio, electronics repair, retro computing, and more!

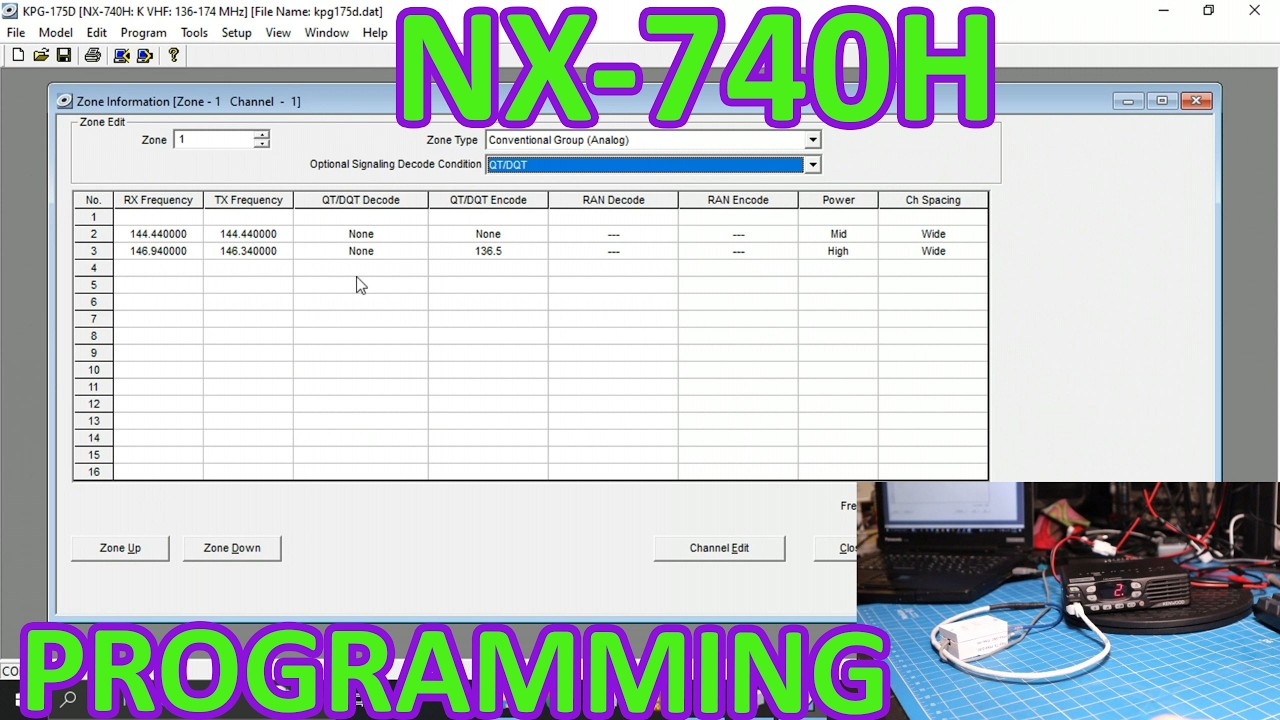
In this video I'll show you how to program a Kenwood NX-740H mobile radio.

Software used: KPG-175DN

Program cable used: KPG-46

If you found this video helpful, please consider subscribing for more radio, electronics repair, retro computing, and technical how-to videos.

👍 Like the video if it helped. 💬 Leave a comment if you have questions or would like to see more Kenwood programming tutorials.

#Kenwood #NX740H #TwoWayRadio #HamRadio #LandMobileRadio #RadioProgramming #KenwoodNX #Electronics #SalvageGeek

Watch on YouTube: How to Program a Kenwood NX-740H Mobile Radio

Subscribe: Click here

How to Program a Kenwood NX-740H Mobile Radio

In this video I’ll show you how to program a Kenwood NX-740H mobile radio.

Software used: KPG-175DN

Program cable used: KPG-46

If you found this video helpful, please consider subscribing for more radio, electronics repair, retro computing, and technical how-to videos.

👍 Like the video if it helped. 💬 Leave a comment if you have questions or would like to see more Kenwood programming tutorials.

#Kenwood #NX740H #TwoWayRadio #HamRadio #LandMobileRadio #RadioProgramming #KenwoodNX #Electronics #SalvageGeek

Watch on YouTube: How to Program a Kenwood NX-740H Mobile Radio

Subscribe: Click here