
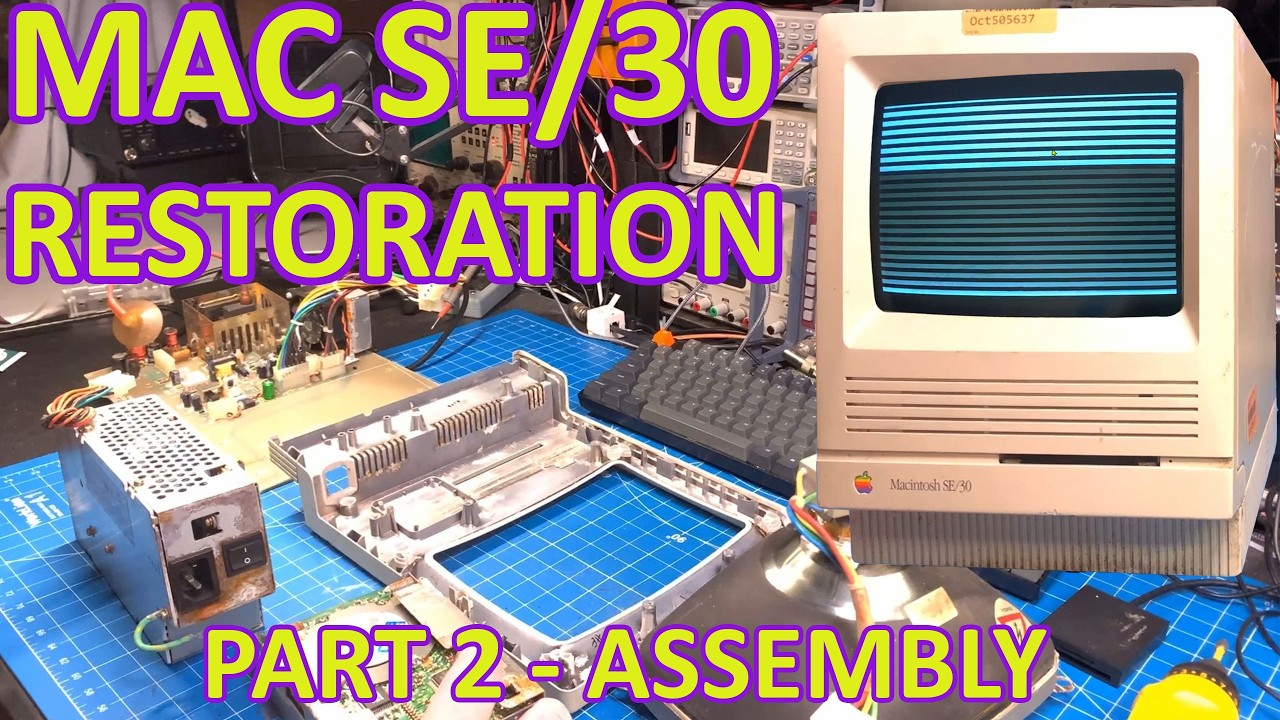
In the latest installment of the Macintosh SE/30 restoration series, the host dives back into the intricacies of reassembling a classic piece of computing history. After tackling severe corrosion issues in the previous video, the focus shifts to reassembling the cleaned and restored components. The host shares insights into the process, showcasing a beautifully restored frame that has been treated with Rustoleum cold galvanized paint, effectively eliminating rust and corrosion. While some stains remain on the faceplate—likely from leaked alkaline—the restoration is progressing well, setting the stage for a successful reassembly.
Restoring the Core Components
One of the significant challenges faced by the host was dealing with the analog board, which had suffered extensive corrosion. Instead of using the original damaged board, the restoration involves a replacement from a donor Macintosh SE. This replacement has been reflowed and soldered to ensure stable connections. The speaker has been carefully reattached with a bit of glue, and new screws have been utilized to replace the corroded originals, ensuring that the assembly remains robust and reliable.
Innovative Upgrades and Modifications
The host also introduces several upgrades to enhance the Macintosh’s performance and usability. While the original hard drive remains installed for aesthetic and monetary value, a Blue SCSI device is integrated to provide modern storage capabilities. A new 3D-printed mount allows for a more seamless installation, ensuring that the Blue SCSI fits flush with the case. This modification exemplifies the blend of vintage technology with modern solutions, creating a more functional and appealing system.
Enhancing the Motherboard
Moving on to the motherboard, the host showcases various enhancements, including the installation of a coin cell battery insert and upgraded RAM. The use of purple RAM and ROM not only adds a visual flair but also allows for customization and improved performance. The host emphasizes the importance of using 3D-printed clips to secure the newer RAM, which ensures stability and prevents potential issues during operation. These thoughtful upgrades help revitalize the Macintosh SE/30, allowing it to meet contemporary standards while retaining its classic charm.
Final Testing and Observations
As the assembly comes together, the host takes the time to test the system before sealing it up entirely. The excitement is palpable as the Macintosh boots up successfully, revealing a vibrant screen free from burn-in or blurriness. The careful adjustments and meticulous cleaning have paid off, resulting in a machine that looks almost as good as new. While there are still minor cosmetic imperfections, the overall restoration is impressive, promising a rewarding experience for anyone who gets to use this classic computer.
With the project nearing completion, the host expresses enthusiasm for the potential of the restored Macintosh SE/30. The journey of bringing this vintage machine back to life showcases not only the technical skills involved but also the joy of preserving computing history. As the video wraps up, viewers are left eager for the next installment, where the restoration of additional components from the donor SE will be explored in further detail.
Back again with this SE/30. Let's put it all back together.
Watch on YouTube: Macintosh SE/30 – Restoration Part 2 – Re-assembly
Subscribe: Click here