
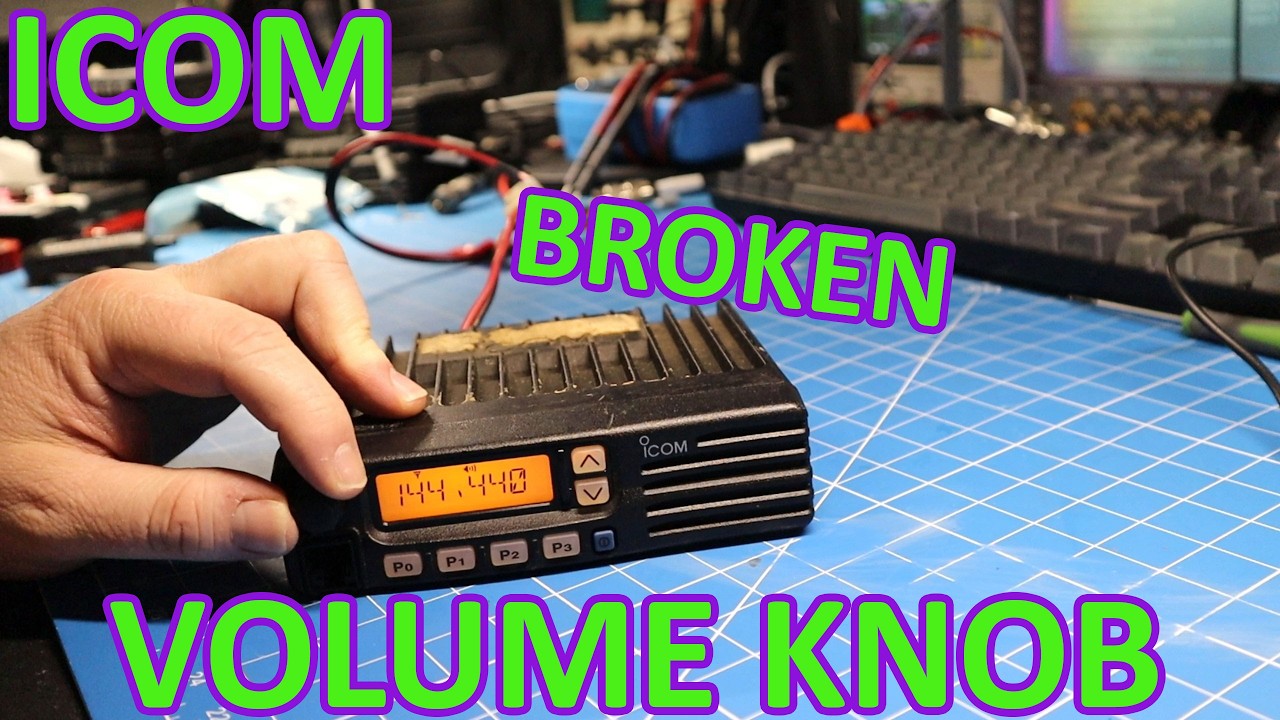
In the world of amateur radio, maintaining your equipment is crucial for optimal performance, and sometimes that involves replacing faulty components. One common issue many users face is a malfunctioning volume knob. In a recent video, the speaker walks viewers through the straightforward process of replacing the volume pot in Icom’s IC-F110 and IC-F121 models, ensuring that your communication devices can deliver clear audio once again.
Identifying the Problem
The first step in the replacement process is recognizing the signs of a faulty volume knob. Users may experience inconsistent audio levels, crackling sounds, or a complete inability to adjust the volume. These symptoms can significantly hinder communication effectiveness, making it essential to tackle the problem promptly. The speaker emphasizes the importance of diagnosing the issue correctly before diving into the replacement, ensuring that the volume pot is indeed the culprit.
Gathering Necessary Tools
Before starting the replacement, it’s crucial to gather all the necessary tools and components. The speaker provides a clear rundown of what you’ll need: a new volume pot, a soldering iron, solder, a pair of wire cutters, and a screwdriver. Having all these at hand before beginning the procedure not only streamlines the process but also minimizes the risk of damaging other components during the replacement.
Step-by-Step Replacement Process
With tools in hand, the speaker demonstrates the replacement process in easy-to-follow steps. First, he carefully opens the device, ensuring all connections are noted for reassembly. Next, he desolders the faulty volume pot and removes it from the circuit board. The installation of the new volume pot is straightforward, with the speaker providing tips to ensure clean solder joints and secure connections. This meticulous approach helps viewers understand the importance of careful handling and precision in electronics repair.
Testing and Final Thoughts
Once the new volume pot is securely in place, the speaker demonstrates how to reassemble the device and conduct a thorough test. This step is crucial to confirm that the replacement was successful and that the audio levels are functioning as intended. The video concludes with a reminder about the significance of regular maintenance and the benefits of DIY repairs, empowering viewers to take charge of their equipment without the need for professional assistance.
In conclusion, replacing a faulty volume pot in Icom’s IC-F110 and IC-F121 models is a manageable task that can greatly enhance your communication experience. By following the steps outlined in the video, users can enjoy clear audio once again, all while gaining valuable skills in electronics repair. Whether you’re a seasoned ham radio operator or a newcomer, this guide serves as an excellent resource for maintaining your gear.
Let's replace this faulty volume knob with a new one.
Watch on YouTube: Icom IC-F110 & IC-F121 Volume pot replacement
Subscribe: Click here