
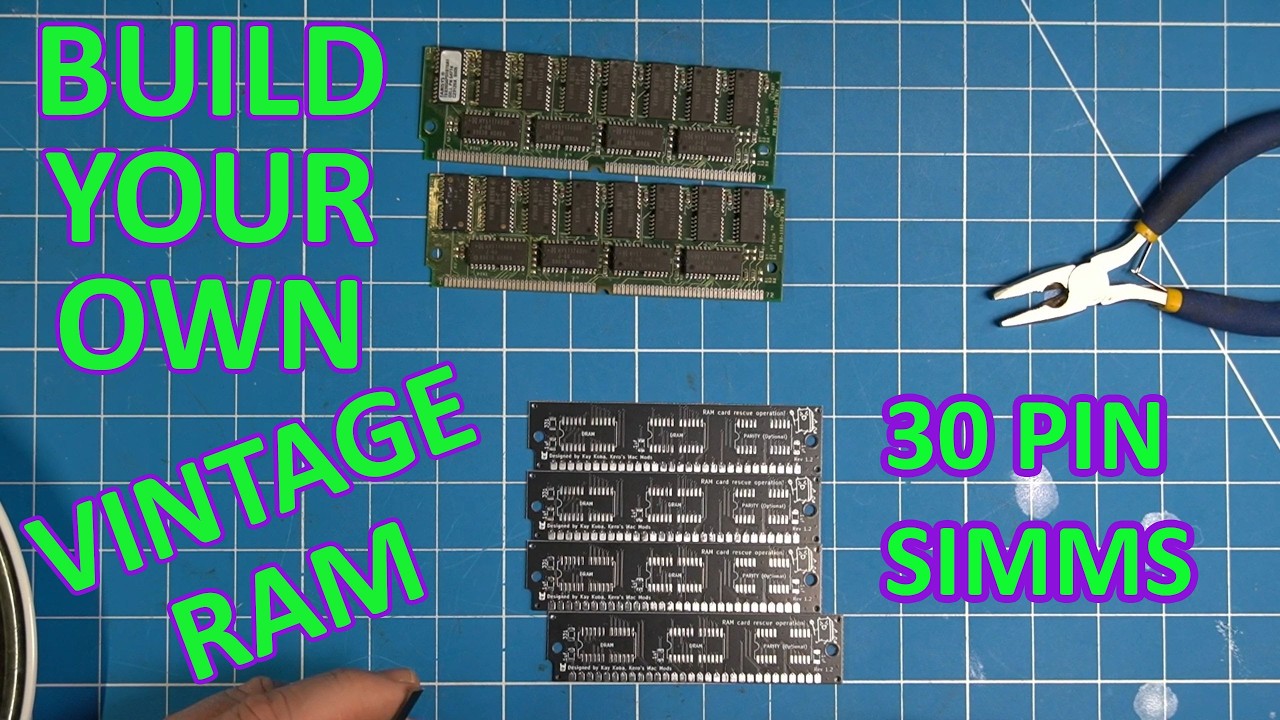
Welcome back to the bench! In today’s exciting DIY project, we dive into the world of retro computing by building our own RAM SIMs using a kit from the Satanic Mac Club. This project isn’t just for Mac enthusiasts; you can use these RAM SIMs in any old system that requires 30 pin RAM. As 30 pin RAM becomes increasingly scarce, this guide will show you how to repurpose 72 pin RAM chips into functional 30 pin RAM, making it an appealing option for retro computing aficionados.
The Benefits of Creating Your Own RAM SIMs
One of the main reasons to undertake this project is the availability of components. Many vintage systems require 30 pin RAM, which is becoming harder to find, especially in larger capacities like 4MB. By taking 16MB chips from 72 pin SIMs—which are much easier to source—you can effectively create multiple 4MB SIMs. This is not only a cost-effective solution but also a way to breathe new life into older systems that require upgraded memory.
Getting Started: Preparing Your Components
The first step in this project is preparing the components. The speaker demonstrates breaking off extra pieces from the 72 pin RAM chips and carefully tinning the pads on the PCBs where the chips will be installed. Using hot air for both the removal and installation of these chips ensures a clean process and minimizes damage. The importance of flux is emphasized, as it helps solder adhere smoothly to the pads. After applying flux, the chips are positioned carefully over the pads for soldering.
Assembly Process: Soldering the RAM Chips
During the assembly, the speaker highlights the technique of heating the entire chip uniformly to allow it to settle into place correctly. This process requires patience as the chips can wiggle before properly aligning themselves with the pads. Once the chips are in place, additional components like capacitors, resistors, and an optional LED can be soldered onto the PCB, enhancing both functionality and aesthetics. The speaker shares handy tips on how to avoid common pitfalls during soldering, such as ensuring the components sit straight before securing them.
Testing Your New RAM SIMs
After completing the soldering process, the newly assembled RAM SIMs undergo a thorough cleaning to remove excess flux and ensure a professional finish. Following this, the SIMs are tested in a Macintosh Color Classic board, allowing for practical verification of their functionality. The excitement builds as the system recognizes the RAM, displaying a total of 10MB—its maximum capacity—demonstrating that the DIY project was a success!
In conclusion, this engaging video not only teaches viewers how to create their own 30 pin RAM SIMs but also highlights the importance of resourcefulness in retro computing. By repurposing more readily available components, hobbyists can continue to enjoy and restore vintage systems with upgraded performance. Be sure to like and subscribe for more exciting DIY projects and retro computing adventures!
Build your own 30 pin RAM using easier to find 72-pin RAM as a doner.
Buy the PCB's from the link below. You can also get a list of compatible RAM chips from the same site. https://en.infinityproducts.co.jp/product-page/smc-4mb-memory-card-diy-kit
#marchintosh
Watch on YouTube: How to make your own 30 pin Ram Simms
Subscribe: Click here